Tutorials
A path to follow in order: from installing the software to exporting the STL for the CNC. Each tutorial says how long it takes and what you need first.
Level 1Getting started
Level 2Your first board
-
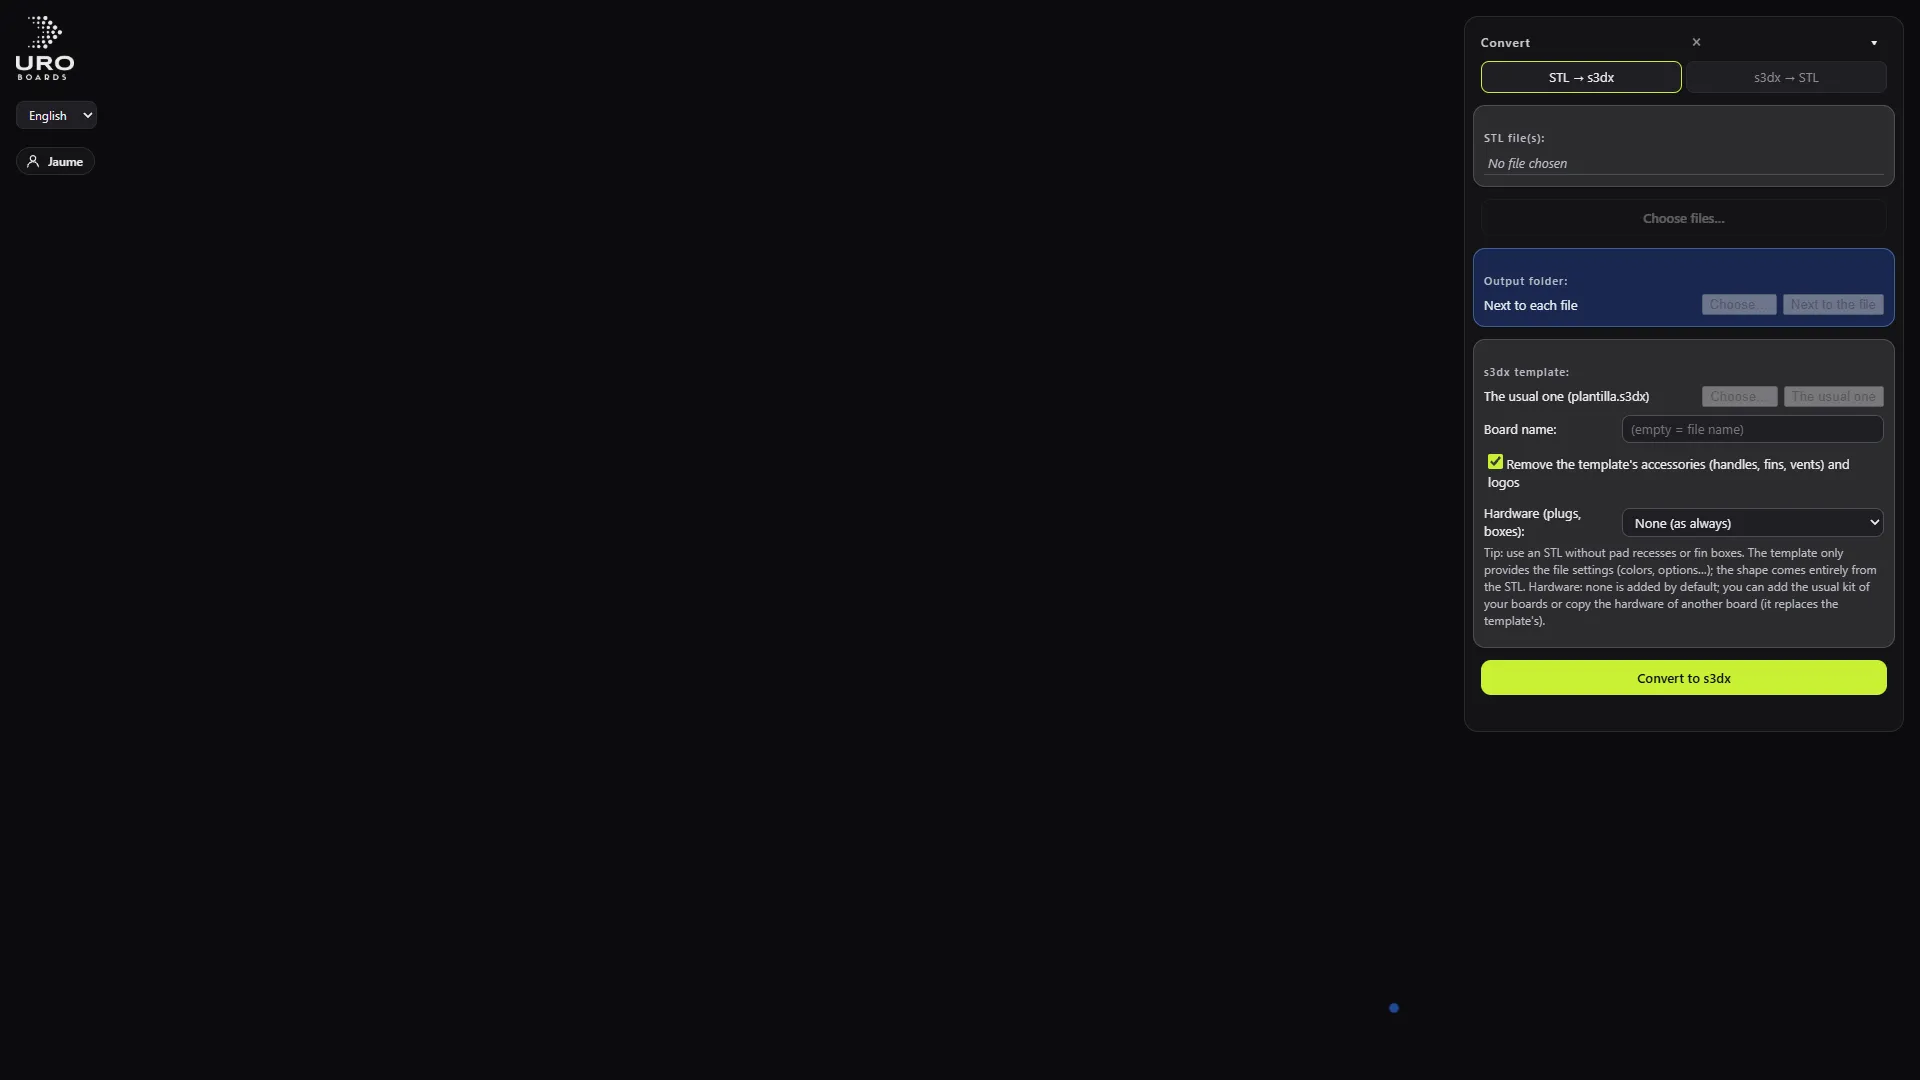 Turn an STL into an editable .s3dx (and back again) Use the Convert panel to get an editable design back from a mesh, and to get a clean STL out of an .s3dx.
-
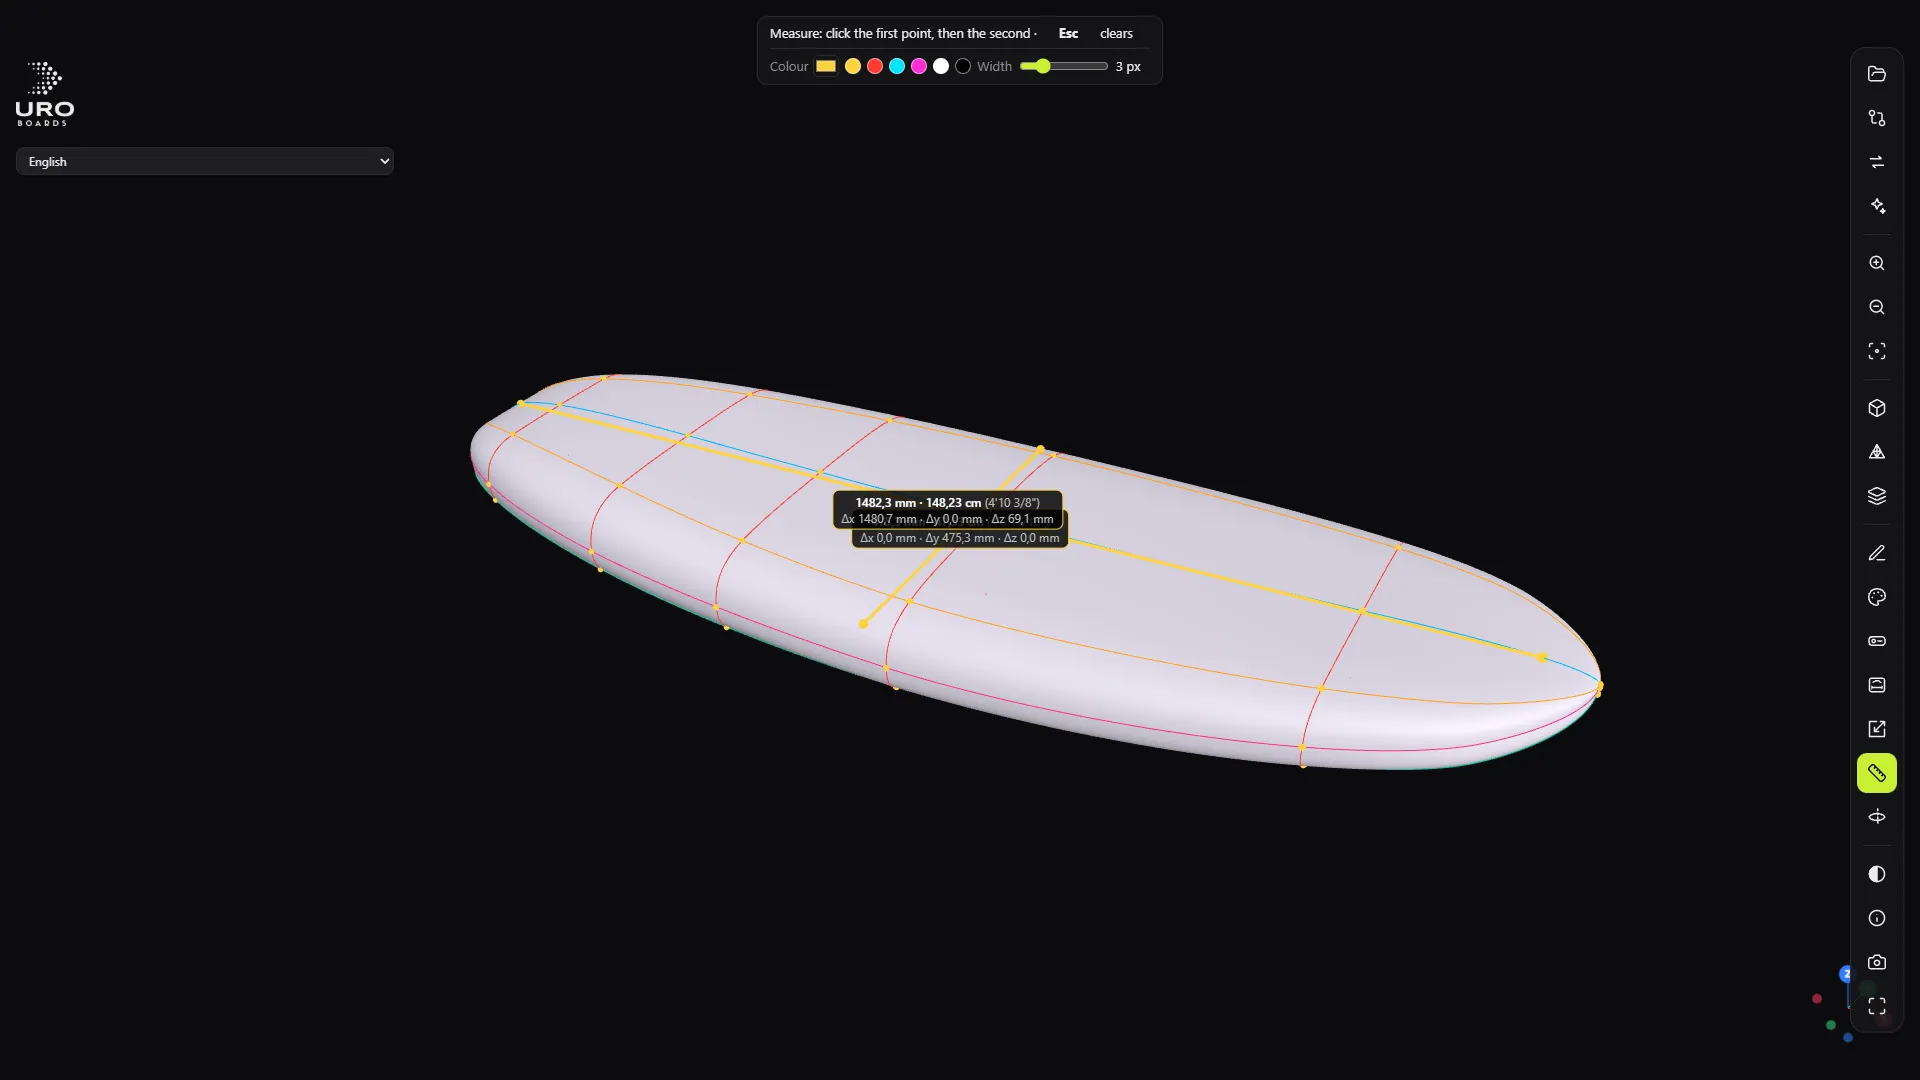
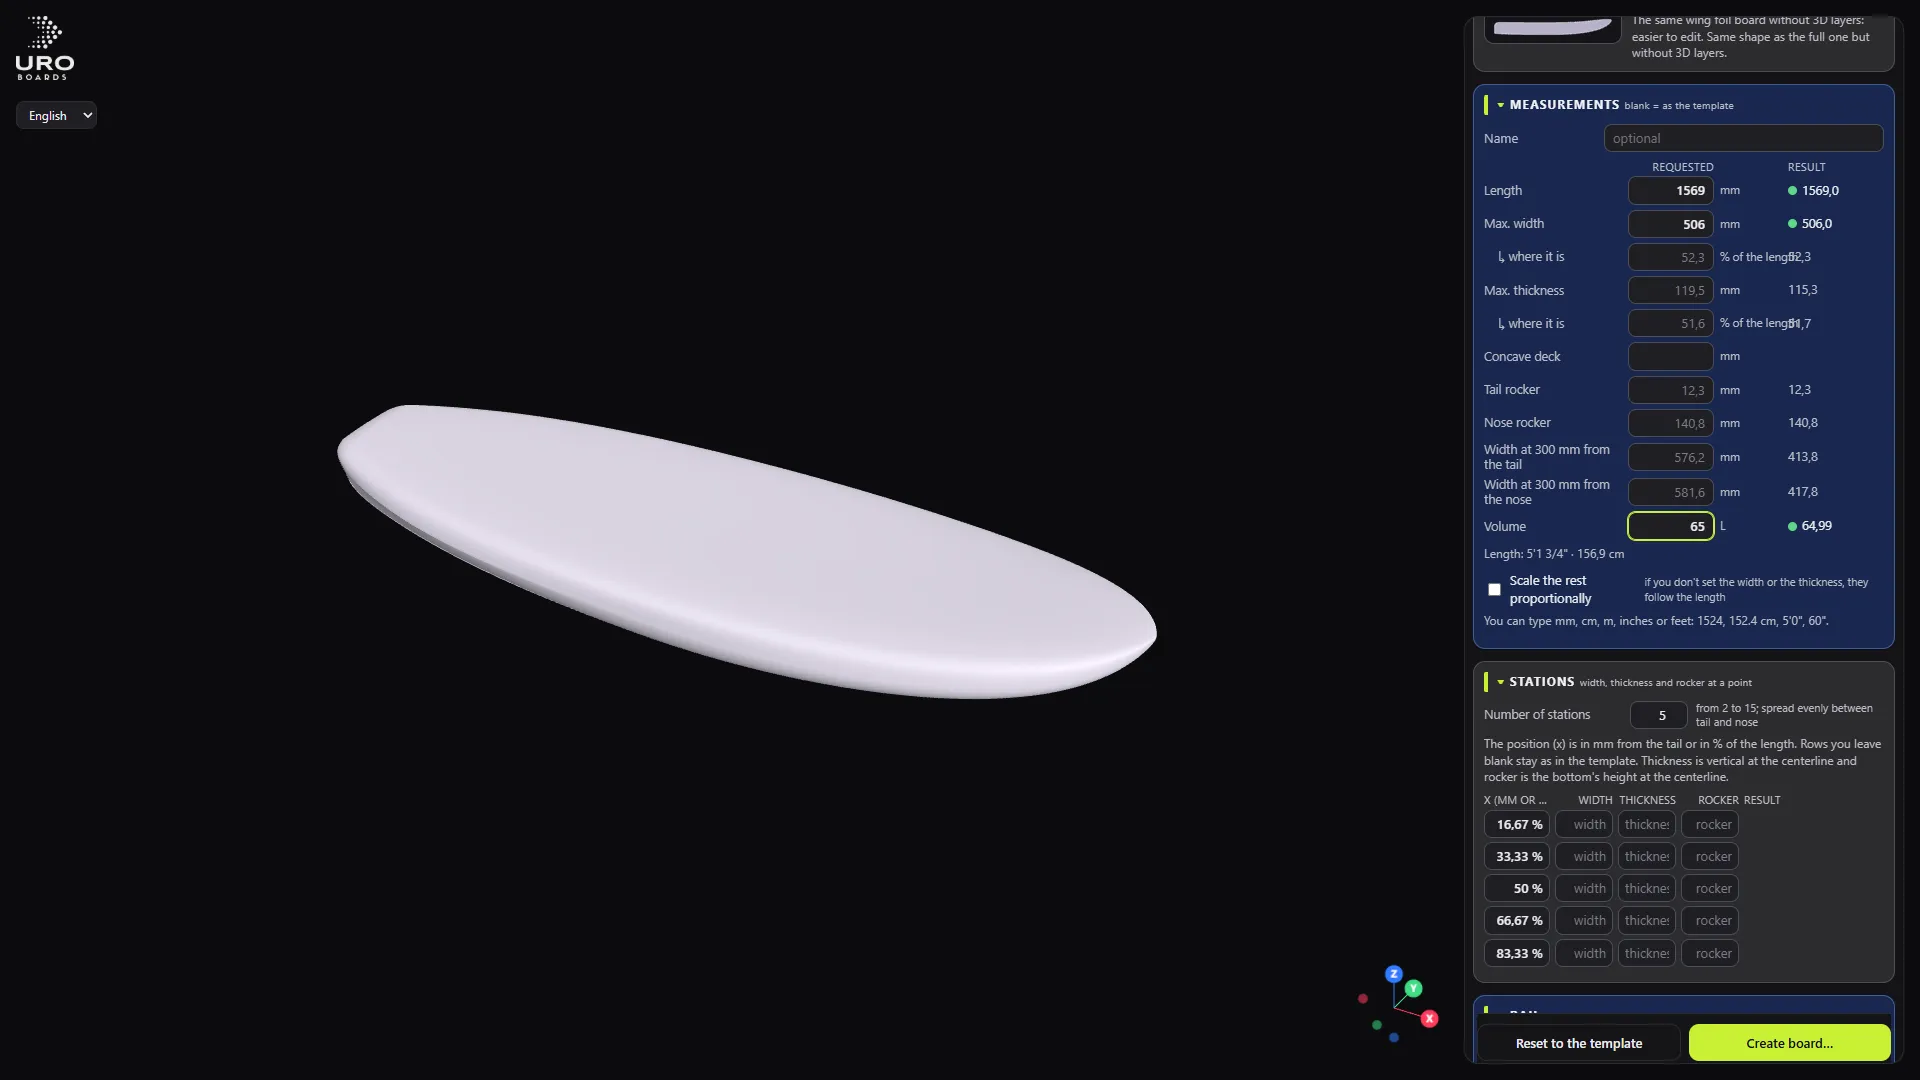 Create your first board from measurements Type in length, width and litres, compare what you asked for with what you got, and save an .s3dx ready to edit.
-
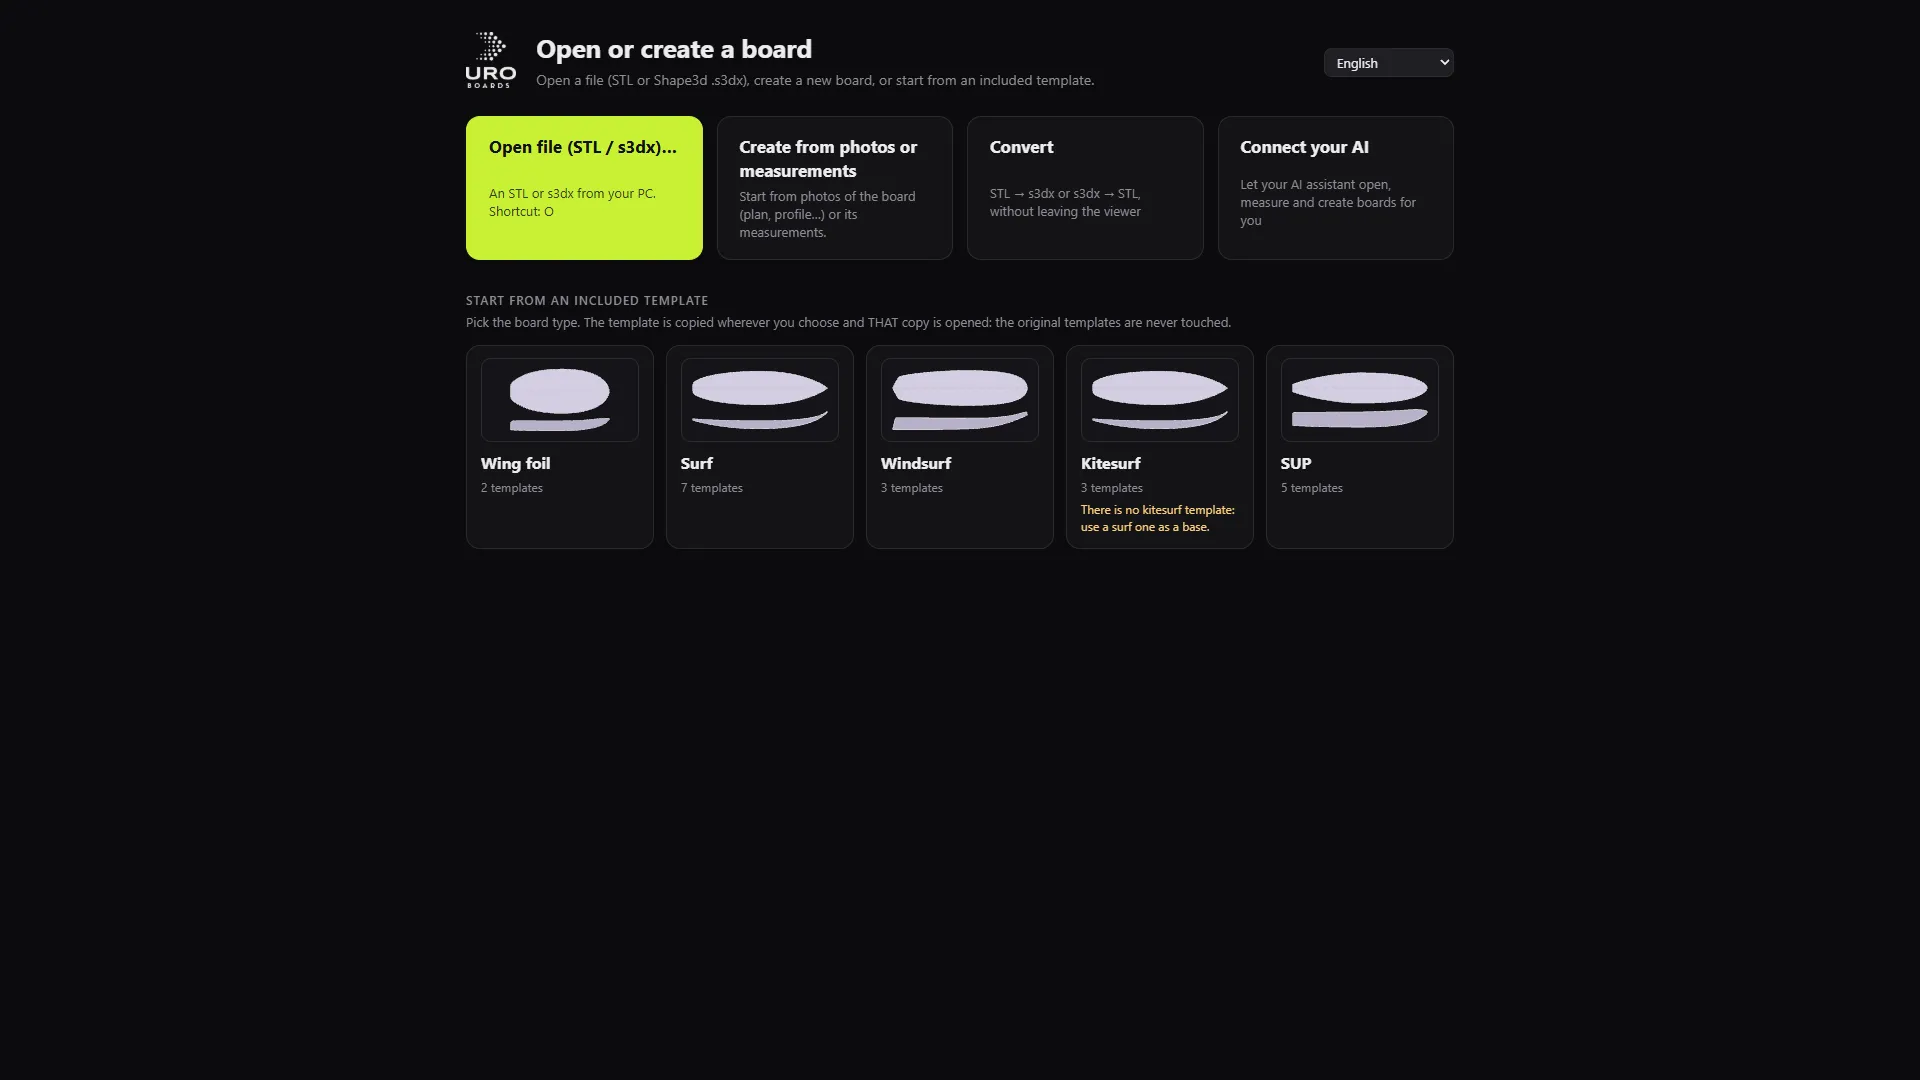
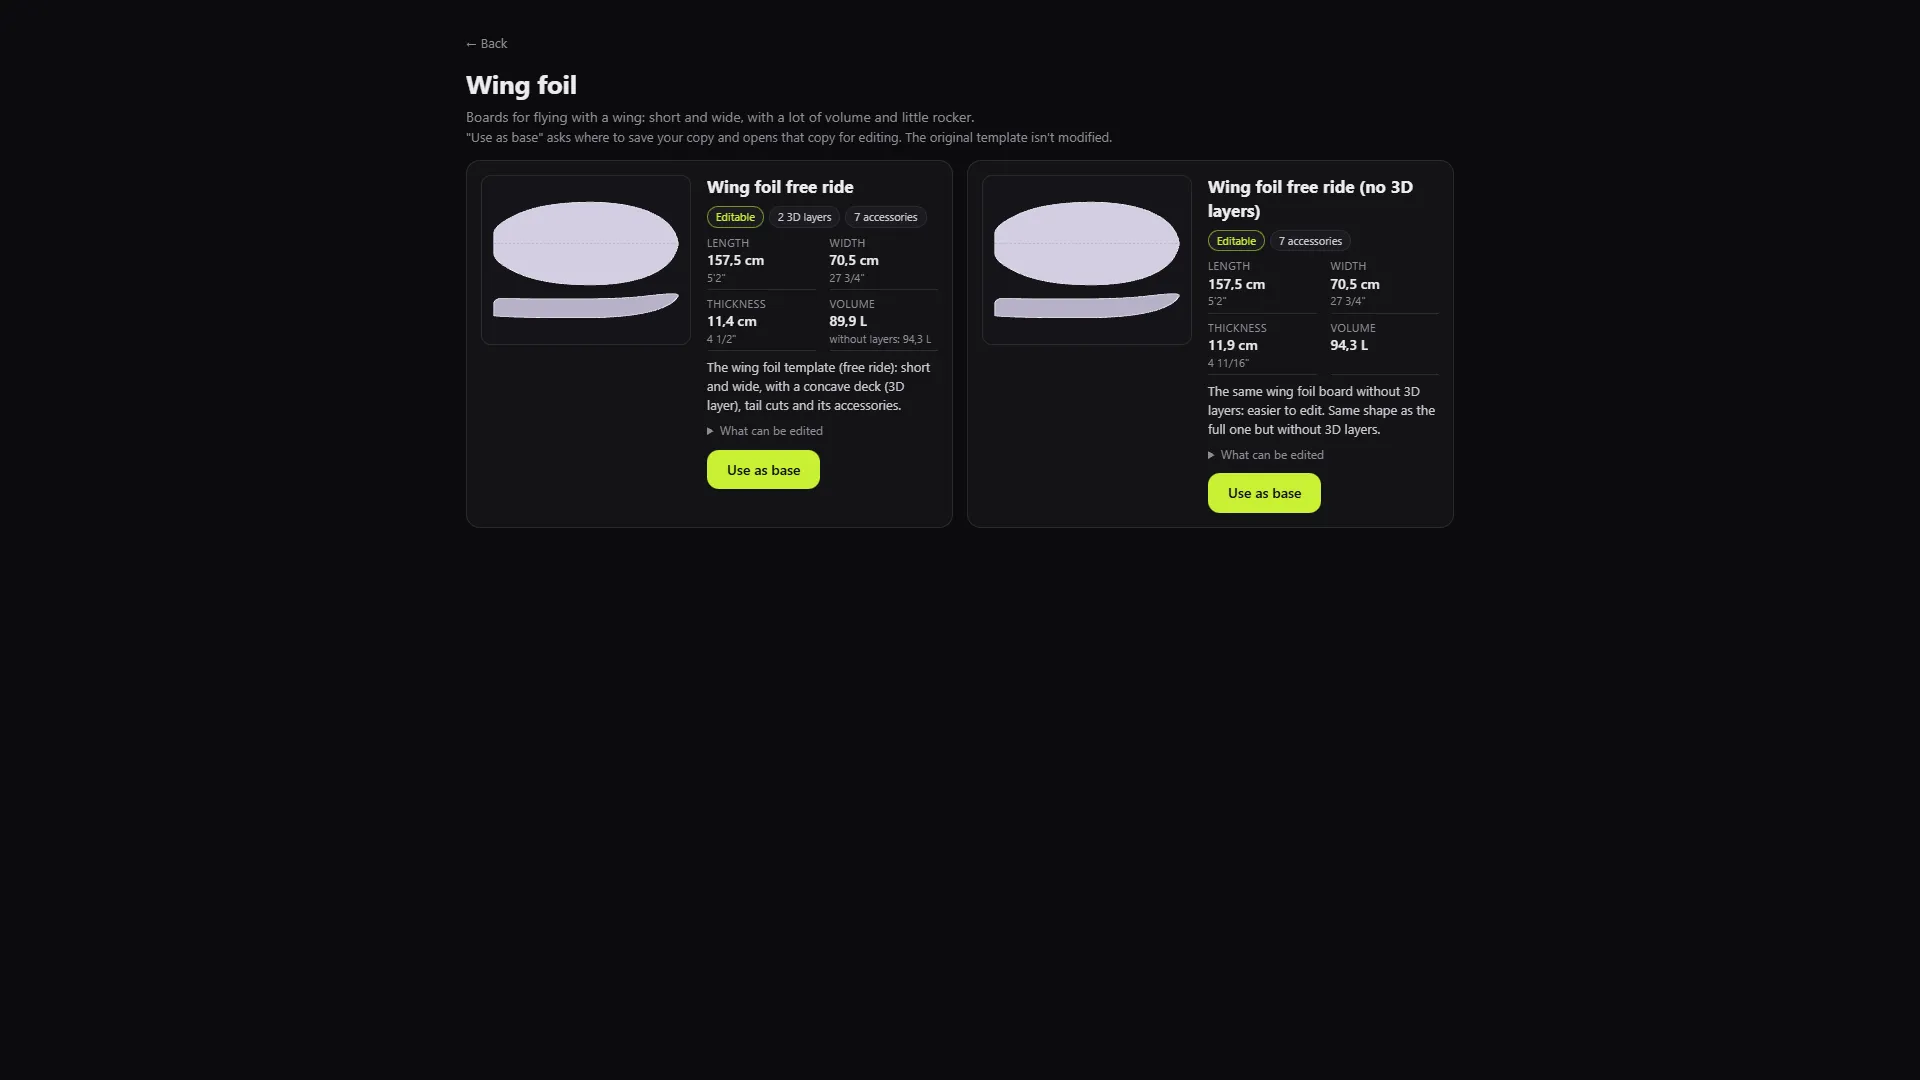 Start from a template Pick one of the 17 included templates, save your own copy and open it to edit, without ever touching the original.
Level 3Shaping
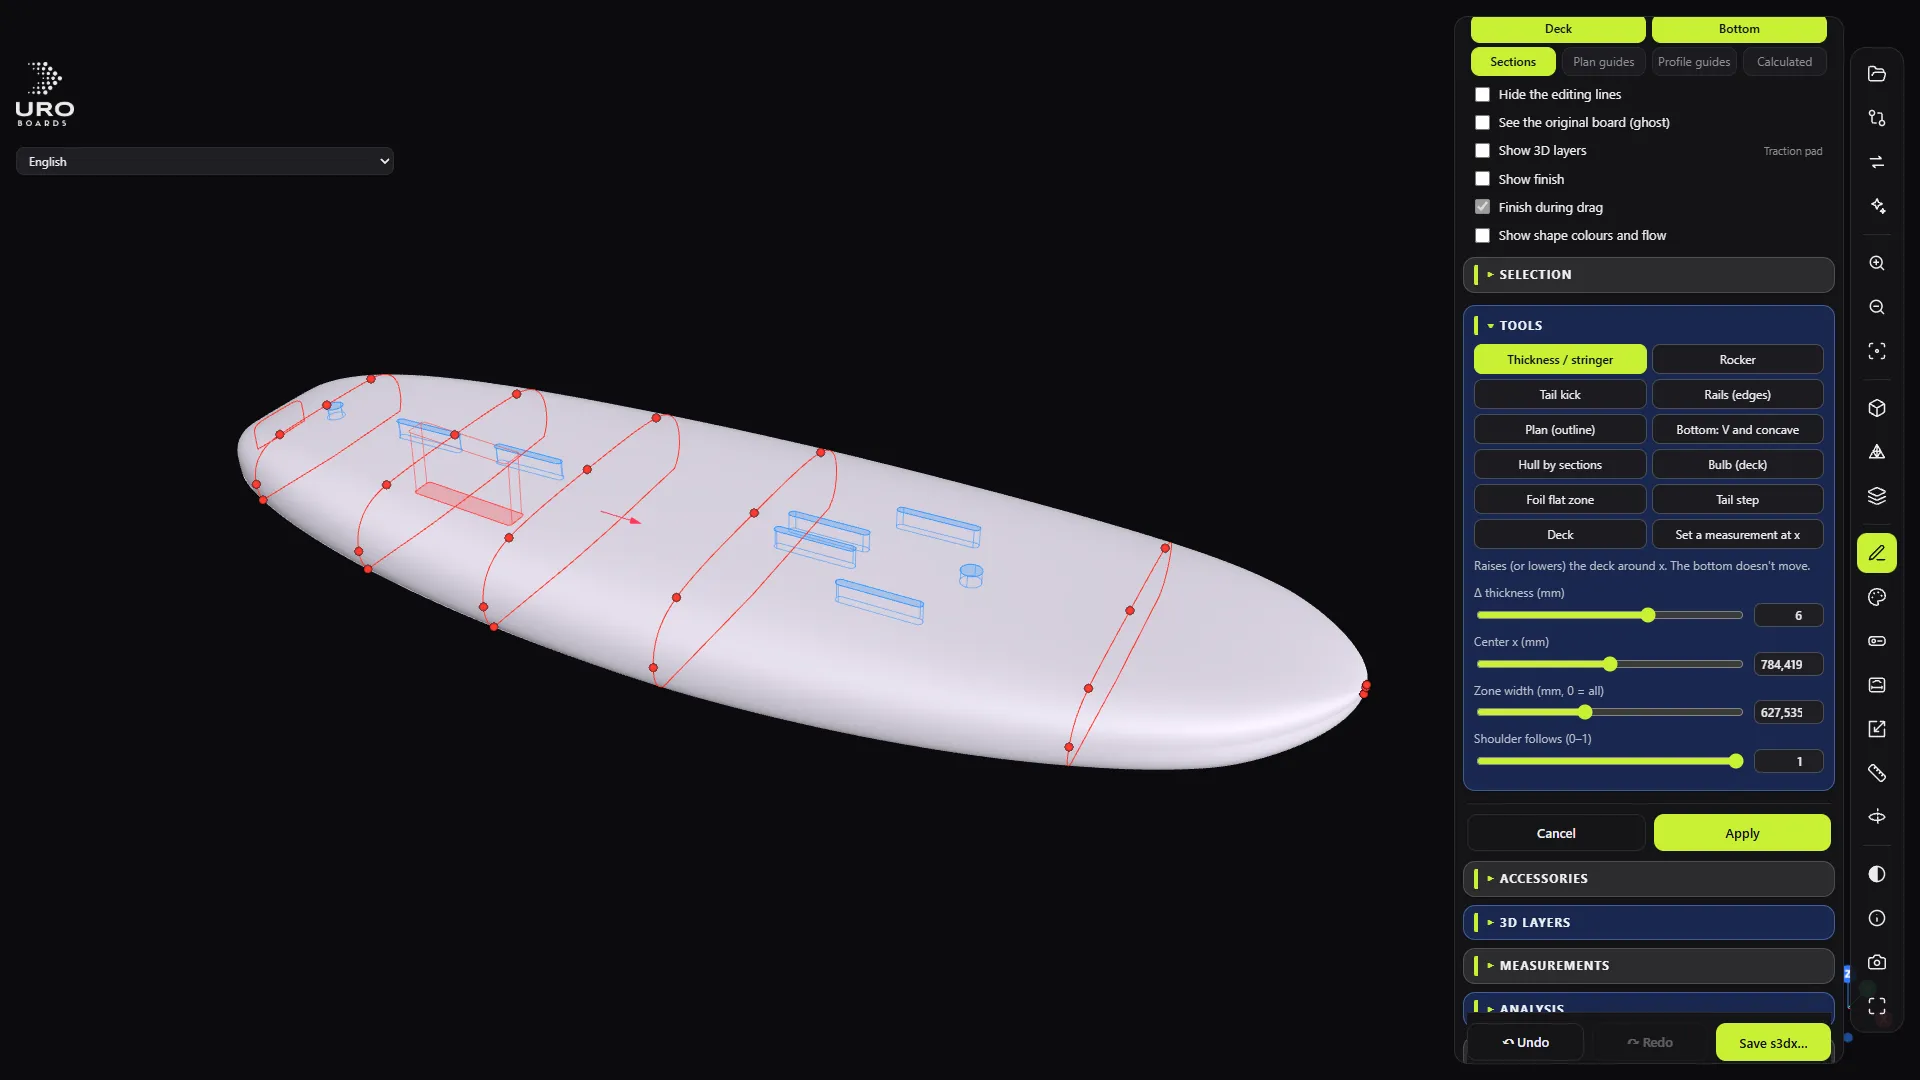
Level 4Construction
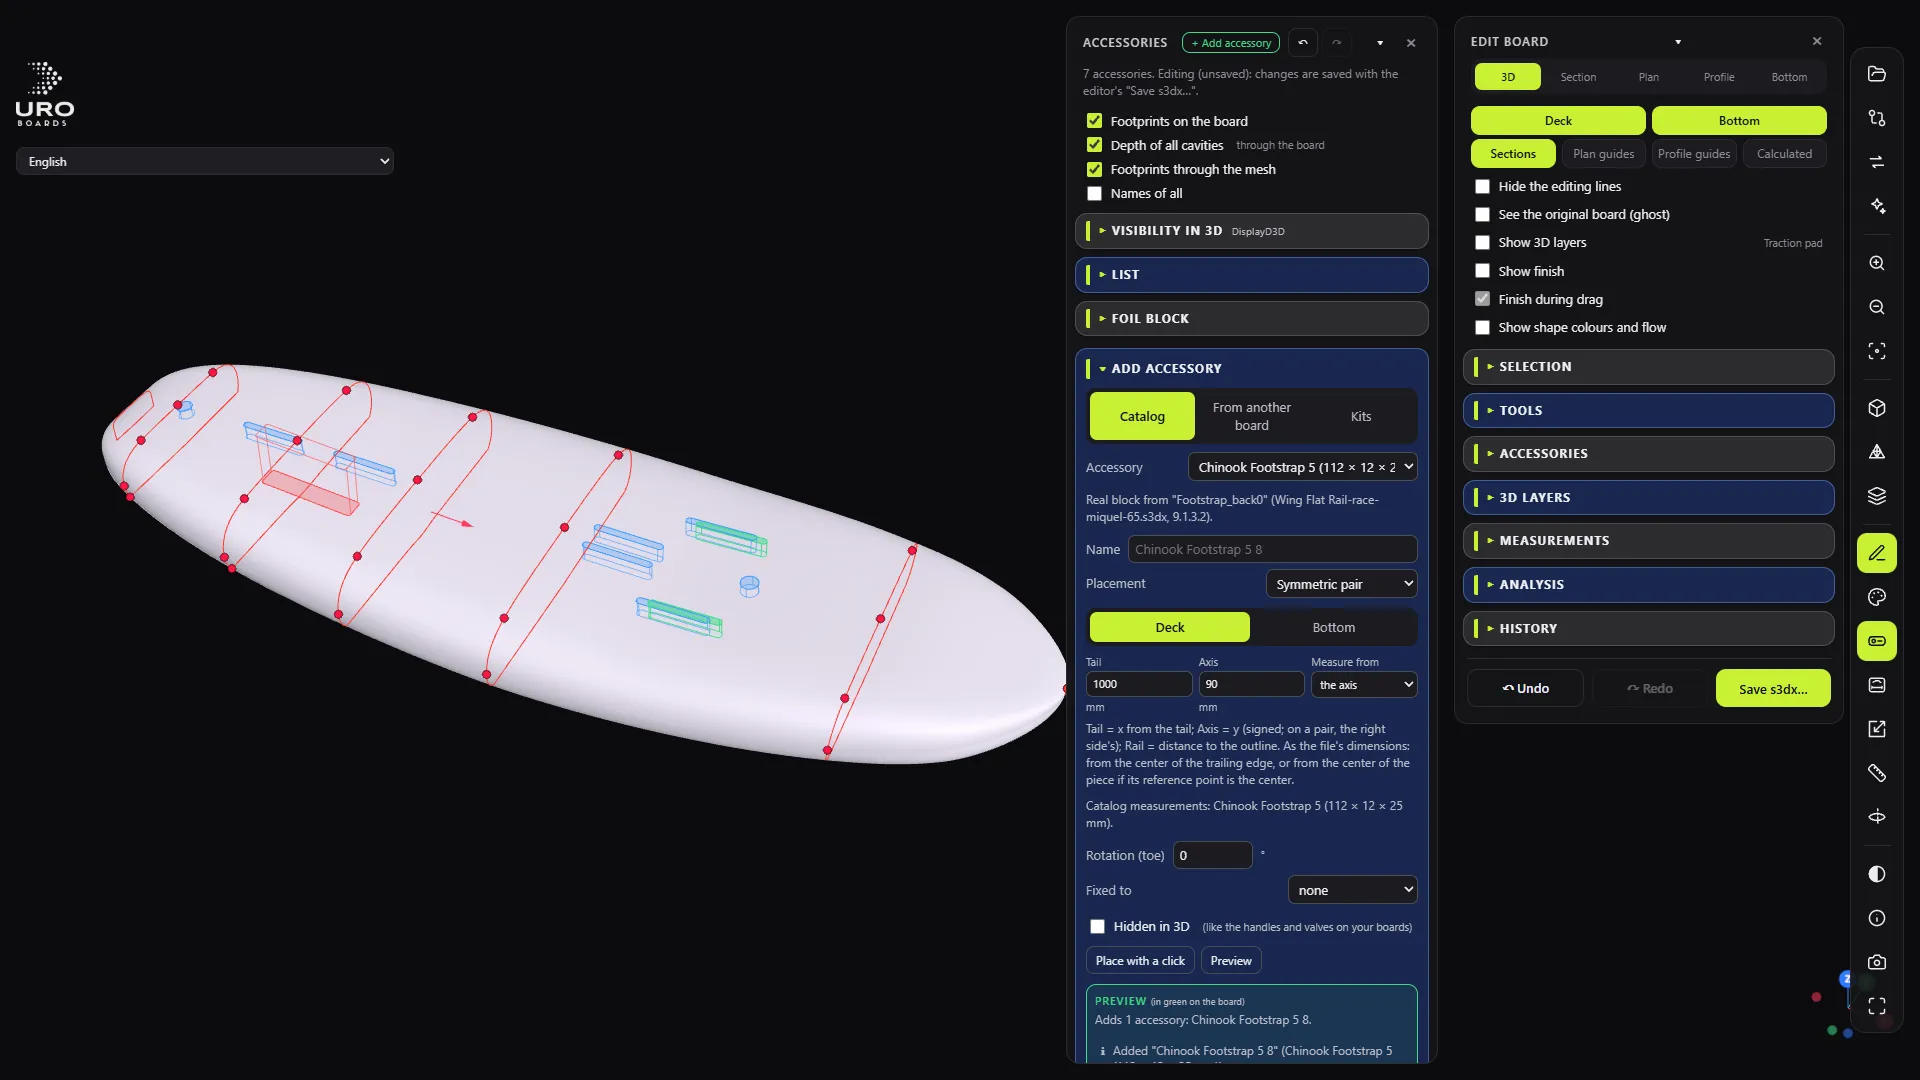
Level 6Finish and render
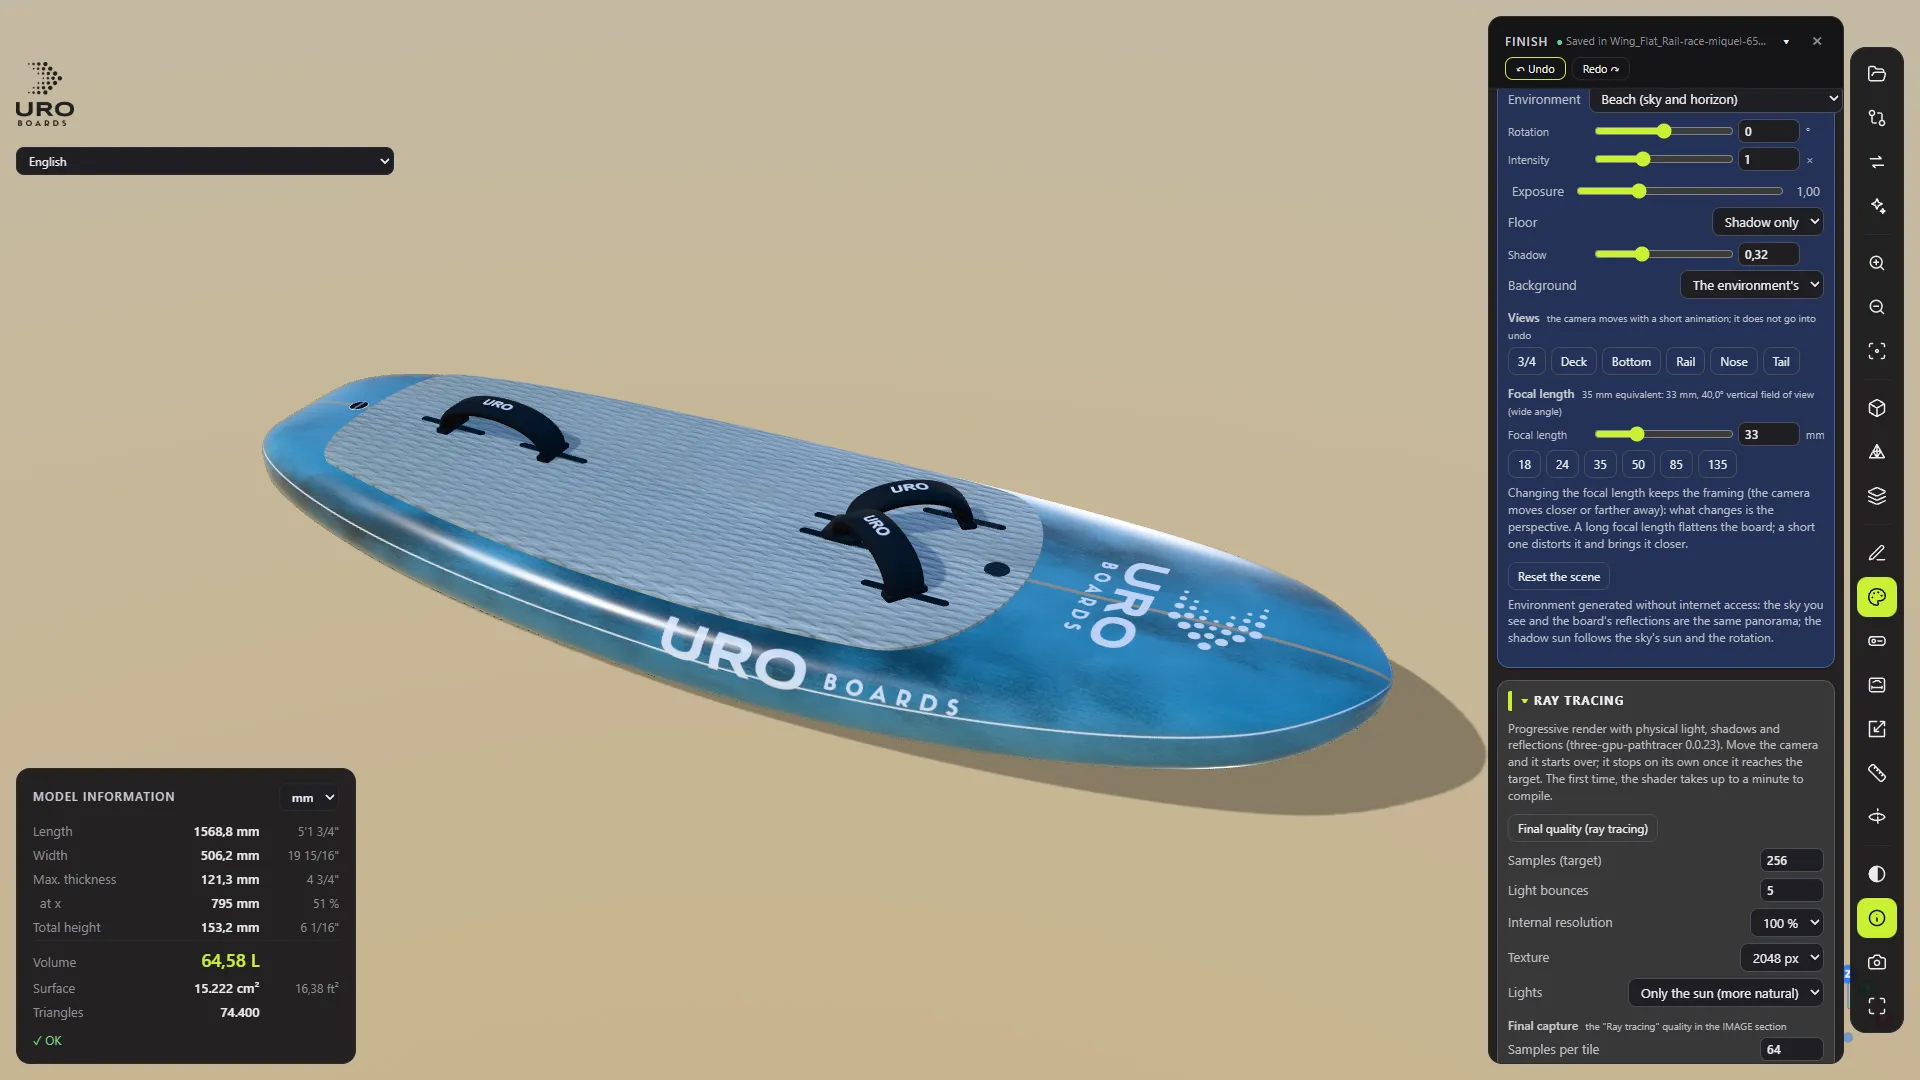
Level 7Manufacturing
-
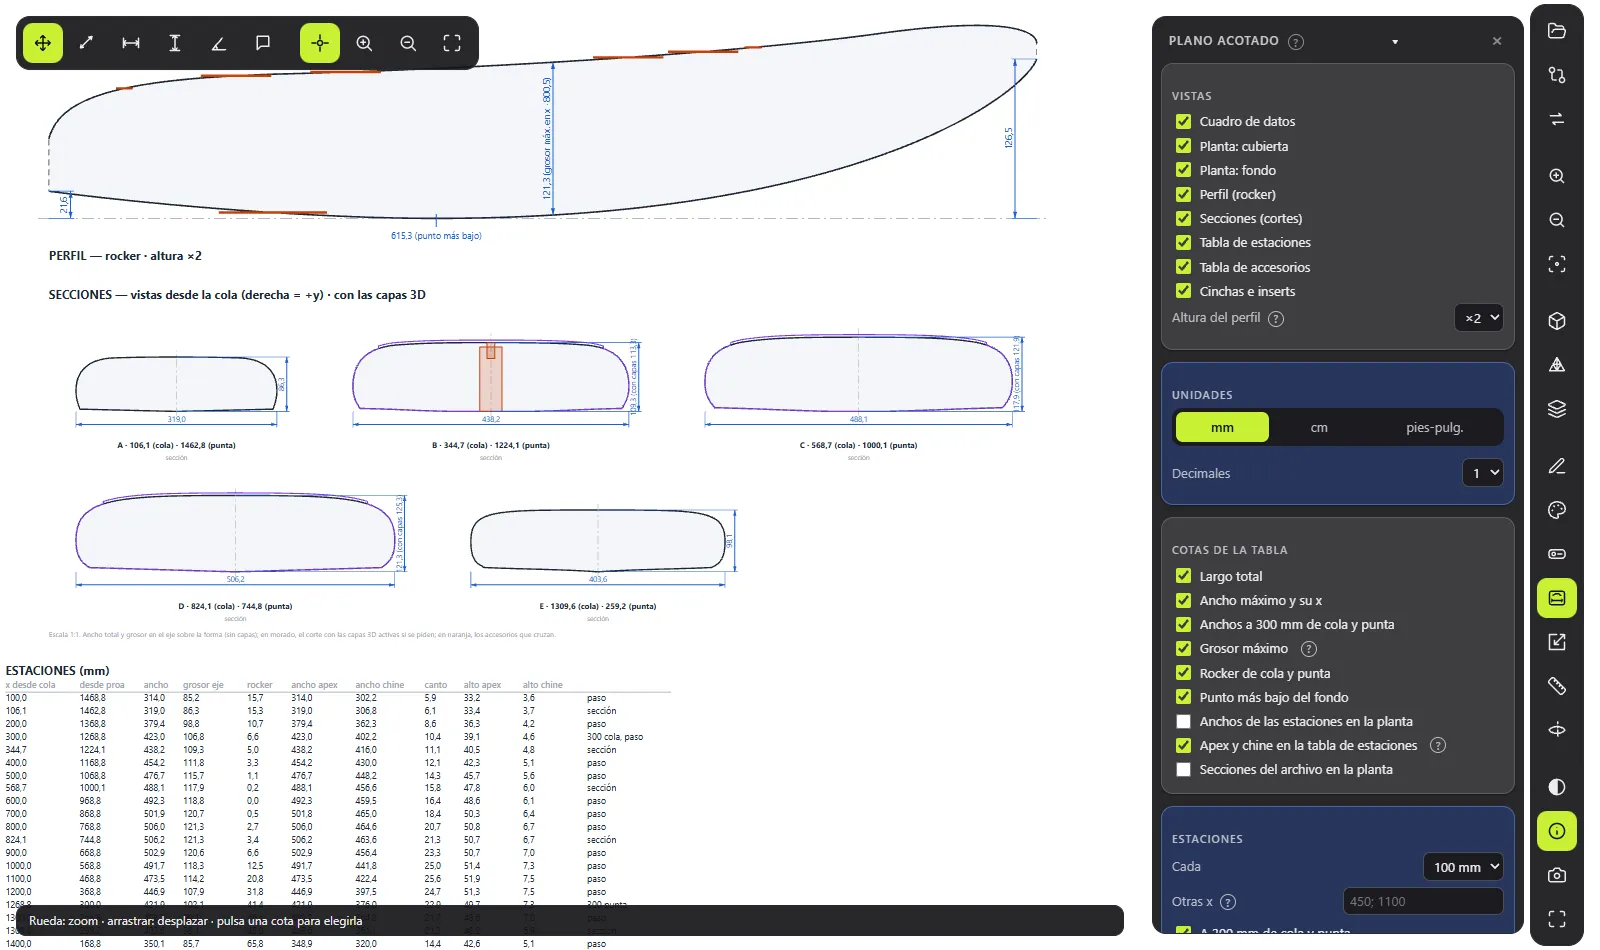 Get the dimensioned drawing as a 1:1 PDF Choose views, units and dimensions, add your own measurements by hand and export a full-scale PDF for the workshop.
-
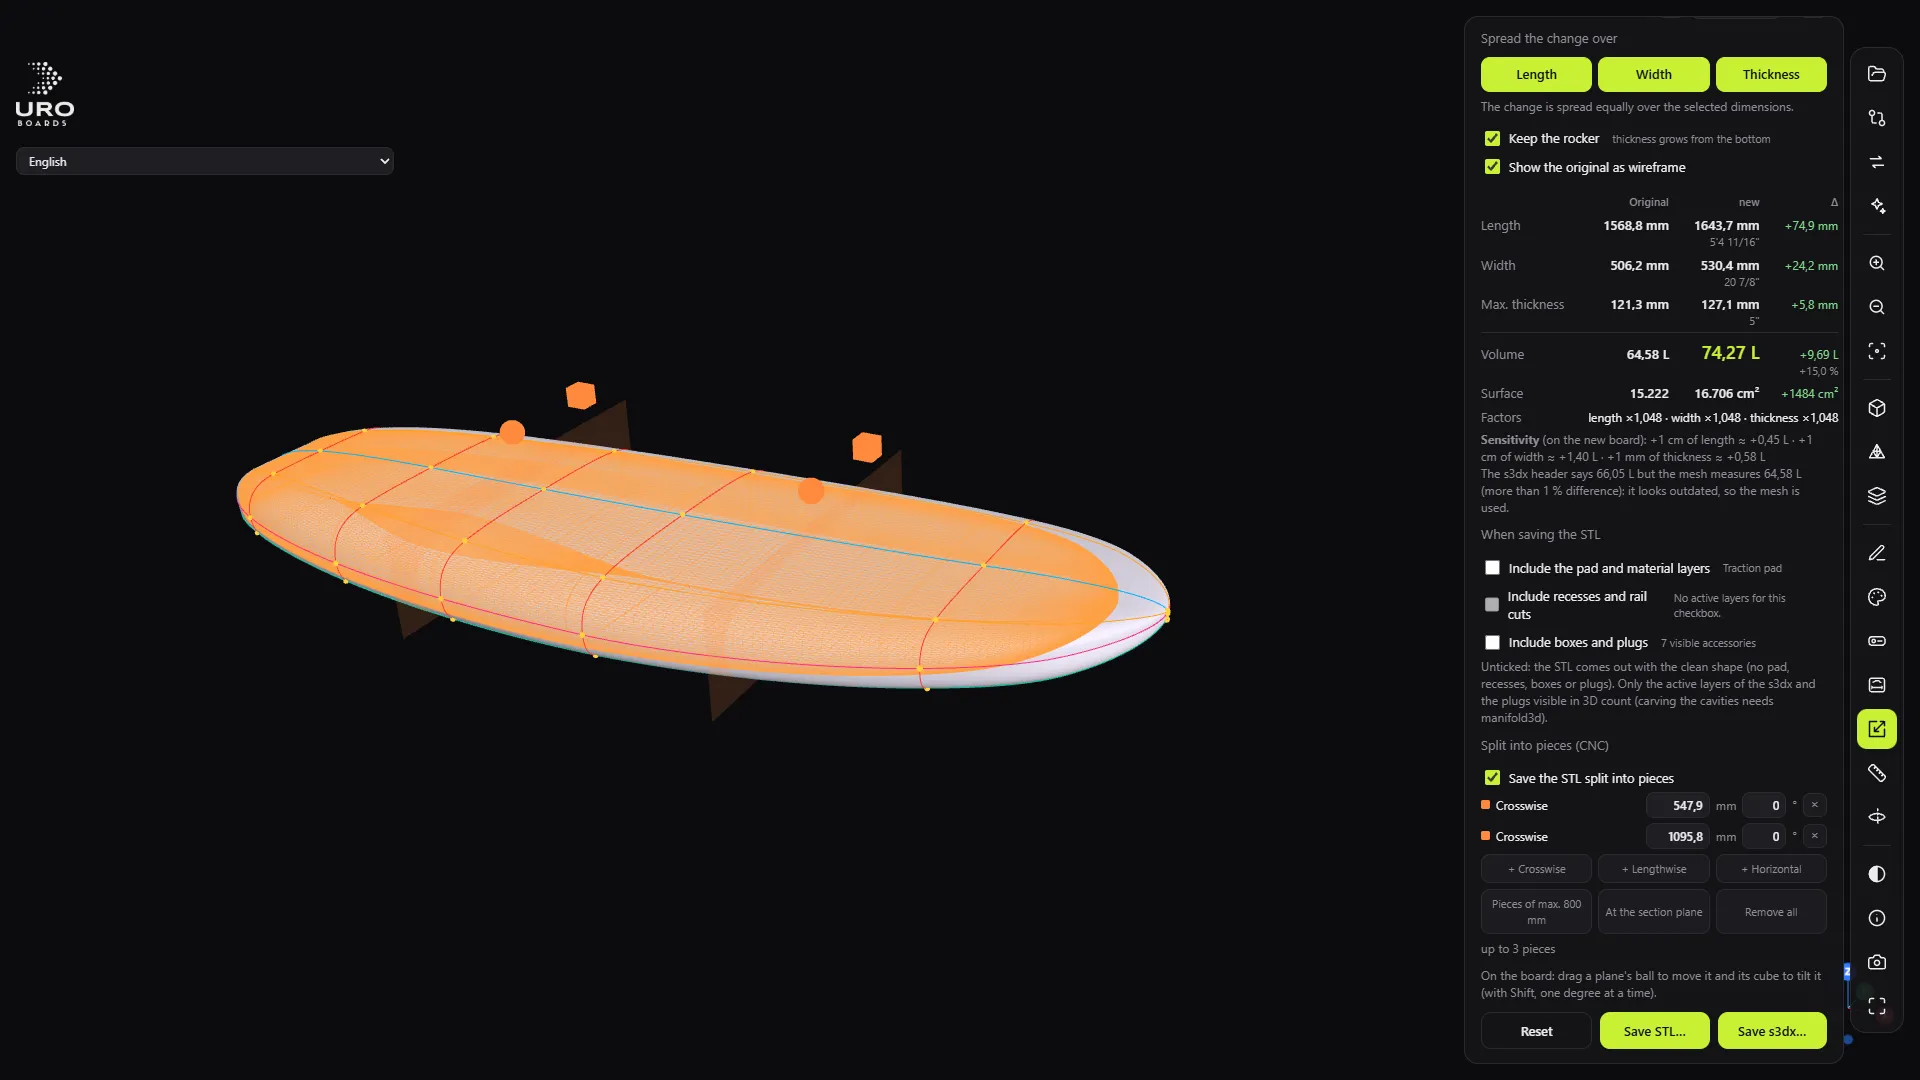 Export the STL for CNC, split into pieces Get a closed STL in millimetres with the box cavities carved, and split it into 800 mm pieces for your machine.