Before this: Install URO Board Designer and sign in.
In ten minutes you’ll know your way around the program: where everything is, how to spin and measure the board, and which key opens each mode.
1. The start screen
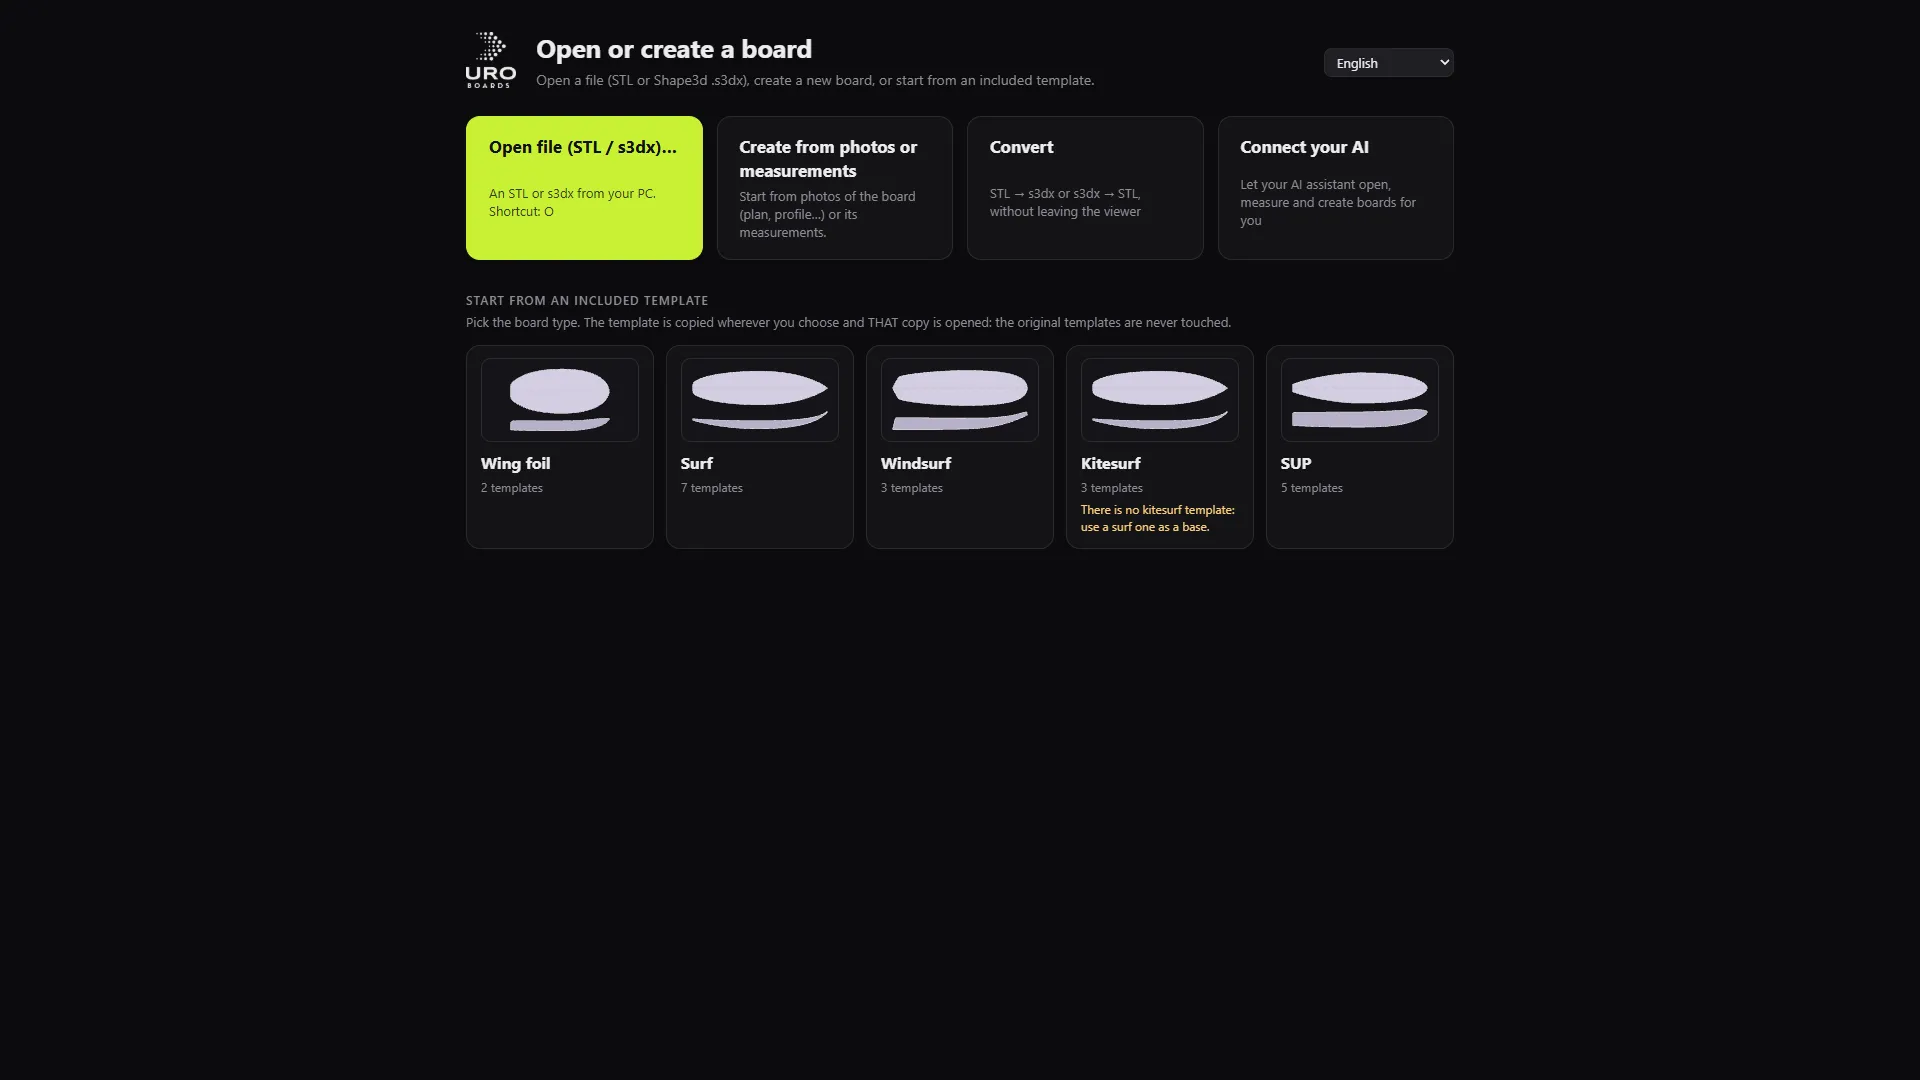
When you open the program you see Open or create a board. It has four cards, each with its own shortcut:
- Open file (STL / s3dx)… — key O.
- Create from photos or measurements — key N.
- Convert — key V.
- Connect your AI — key G.
Below them are Start from an included template (wing foil, surf, windsurf, kitesurf and SUP) and Recent files. Top right, the language selector. Above the cards, your account bar and My licence.
2. Open a board
Press O and pick an .s3dx or an STL. If you don’t have one, open a template: under Wing foil, pick one and click Use as base.
Result: the board appears in the 3D viewer, with the MODEL INFORMATION panel at the bottom left and the button bar on the right.
3. Move the board with the mouse
- Left button: rotate.
- Right button: pan.
- Wheel: zoom in and out.
- F: frame the whole board.
Tip: if you get lost, press F and then 0 to go back to the 3/4 view.
4. Change the view
Keys 0 to 5 jump to the fixed views:
| Key | View |
|---|---|
| 0 | 3/4 |
| 1 | Top (deck) |
| 2 | Bottom |
| 3 | Profile |
| 4 | Nose |
| 5 | Tail |
They’re also under the Views button on the toolbar. W switches to Wireframe. In Layers you choose which design curves you see (sections, points, handles, guide curves) and See through the mesh.
5. Read the model information
The MODEL INFORMATION panel (key I to show or hide it) gives you the length, width, maximum thickness and the x where it sits, total height, volume in litres and surface area. In the units drop-down you choose mm, cm or inches. Next to each figure you see the equivalent in feet and inches.
6. Measure and cut
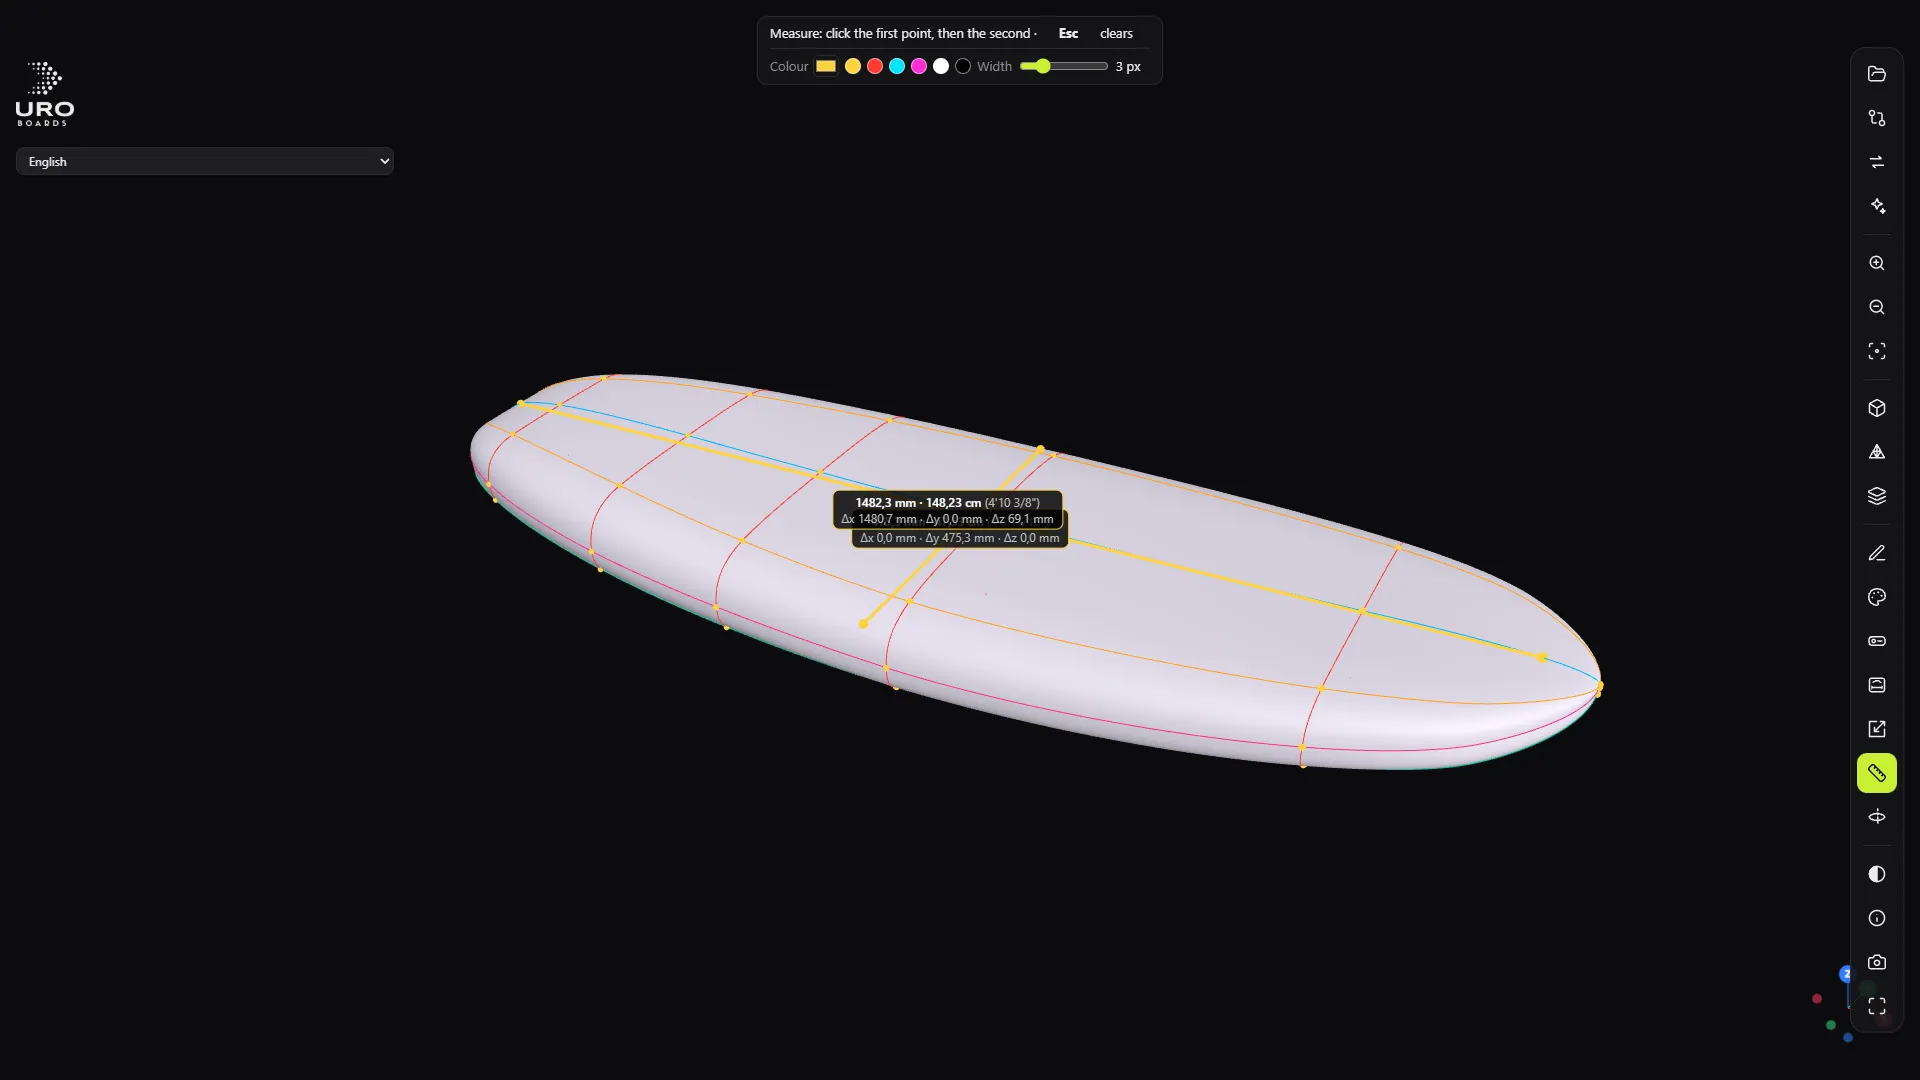
- M turns on Measure: click the first point, then the second. You see the distance plus dX, dY, dZ. Esc clears the dimensions.
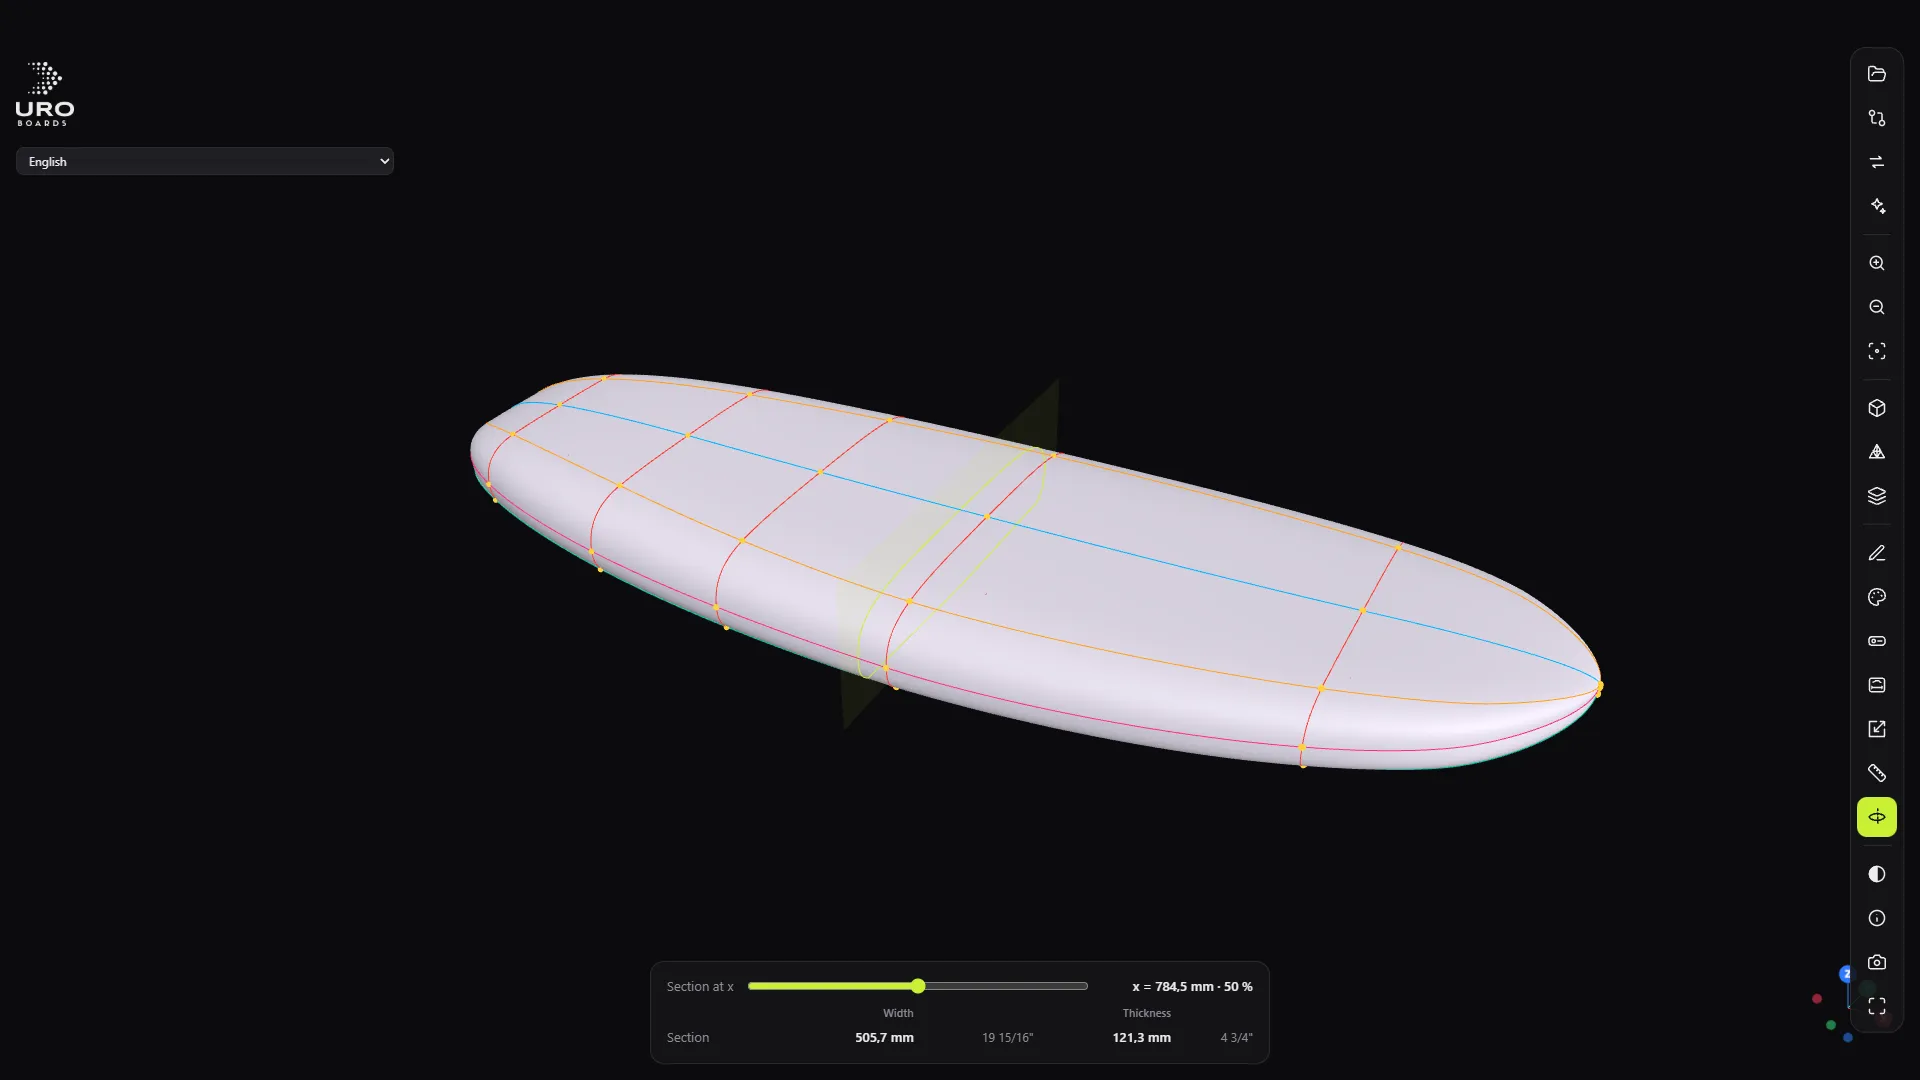
- C turns on Cut: a slider runs along the board and gives you the width and thickness at that x. The arrow keys move it 1 mm (with Shift, 10 mm).
Common mistake: measuring on the bottom when you wanted the deck. Switch to the right view first (1 or 2) so you click on the correct face.
7. Get to know the right-hand bar
From top to bottom: Open, Compare, Convert STL ⇄ s3dx (V), Connect your AI (G), zoom, Fit, Views, Wireframe, Layers, Edit, Finish, Hardware, Dimensioned drawing (B), Rescale, Measure, Cut, Bottom (light or dark background), Info, Photo (PNG screenshot) and Full screen. Hover over a button to see its name.
8. Open the work modes
The big modes each have their own key and close with the same key:
| Key | Mode |
|---|---|
| E | Shape editor (.s3dx only) |
| P | Hardware (accessories) |
| A | Finish |
| B | Dimensioned drawing |
| R | Rescale |
Some modes can’t be open at the same time. For example, to enter Finish you have to leave the editor first. If a button is greyed out, hover over it: it tells you why.
9. Go back to the start
Press the Home key or the URO logo at the top left. If you have unsaved changes, the program warns you first.
10. Use the “?” help
Many fields have a ? next to them. Click it to see what that control does without leaving the program.
Next step
Try converting an STL to .s3dx, or create your first board from measurements.