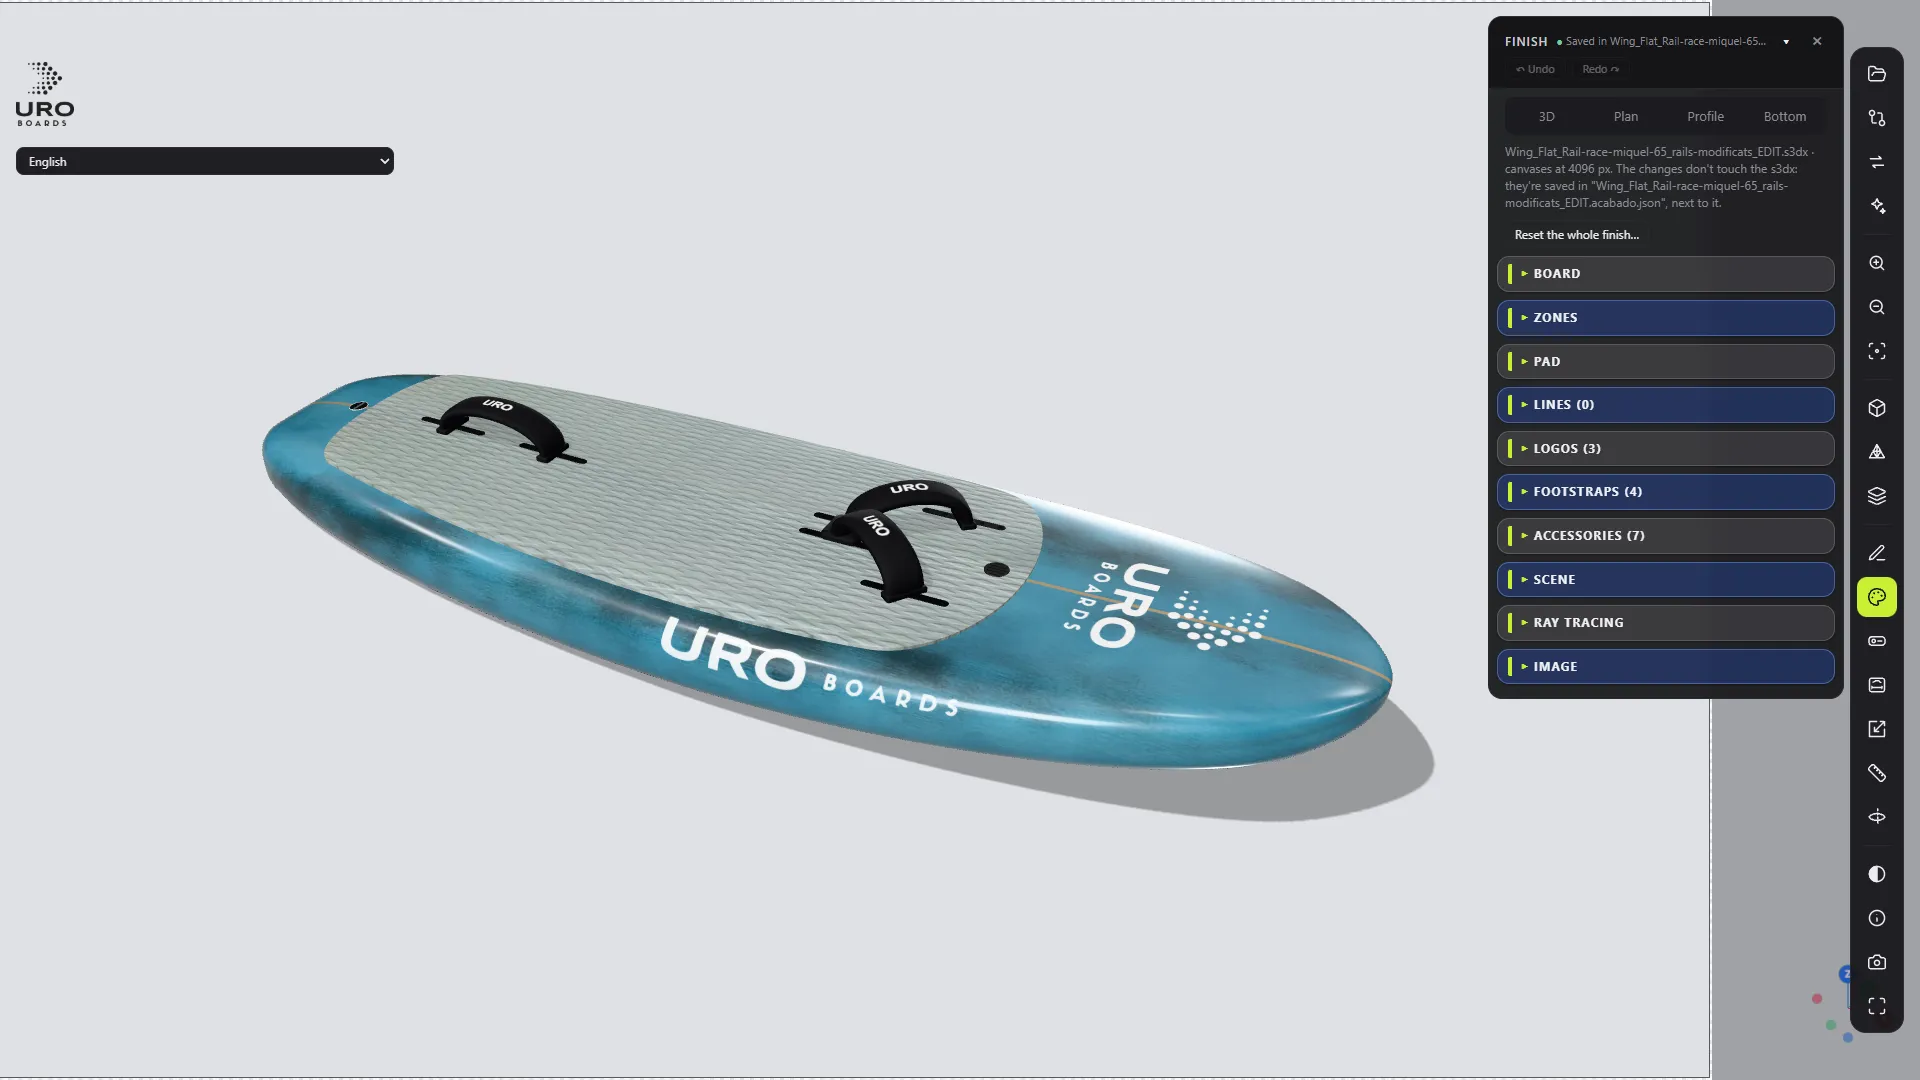
Finish mode shows the board as it will come out: colours, logos, pad, footstraps and hardware, with lighting and a scene. Open it with the A key or the Finish button, with a .s3dx open.
It’s all visual. Whatever you change is saved on its own in a separate file, name.acabado.json, next to the .s3dx. The shape, the STL and the volume don’t change.
Saving and undo
Next to the FINISH title, an indicator tells you whether it’s saved. Ctrl+Z and Ctrl+Y undo and redo everything in a single list. Reset the whole finish… puts it back as it comes in the .s3dx, in one step that you can also undo.
Board: colours and textures
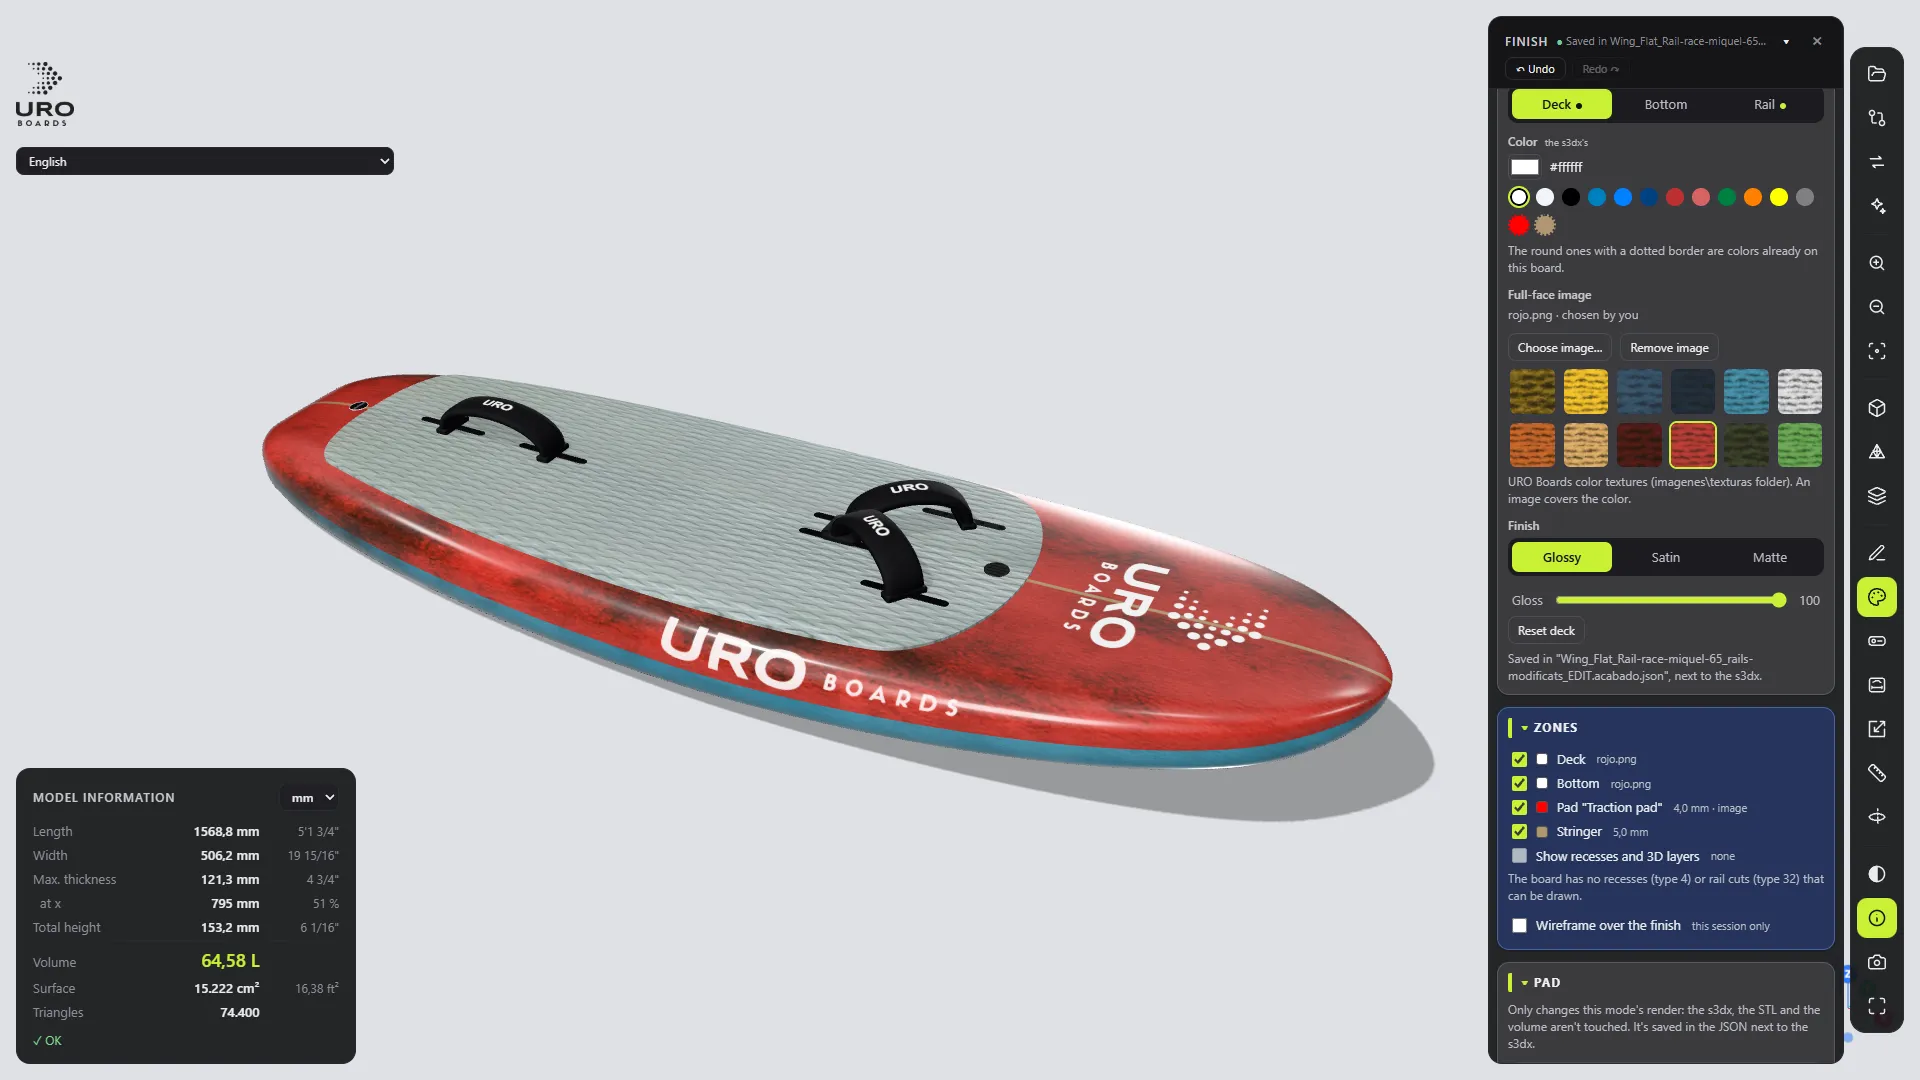
In BOARD you paint the Deck, Bottom and Rail (the strip between the chine and the apex) separately:
- a colour from the picker, from the URO swatches or from the board itself;
- Full-face image: URO textures or Choose image… (PNG, WebP, SVG or JPG);
- a Matte, Satin or Glossy finish, plus its Gloss.
Logos
In LOGOS you select a logo with one click and move, scale or rotate it with the mouse, the arrow keys or the fields. You can change its image, add new logos on the Deck, Bottom or Pad, duplicate them and put them on the rail with a copy on the other rail. On the pad, a logo can be engraved with Negative relief (inset) and its depth in mm.
Pad
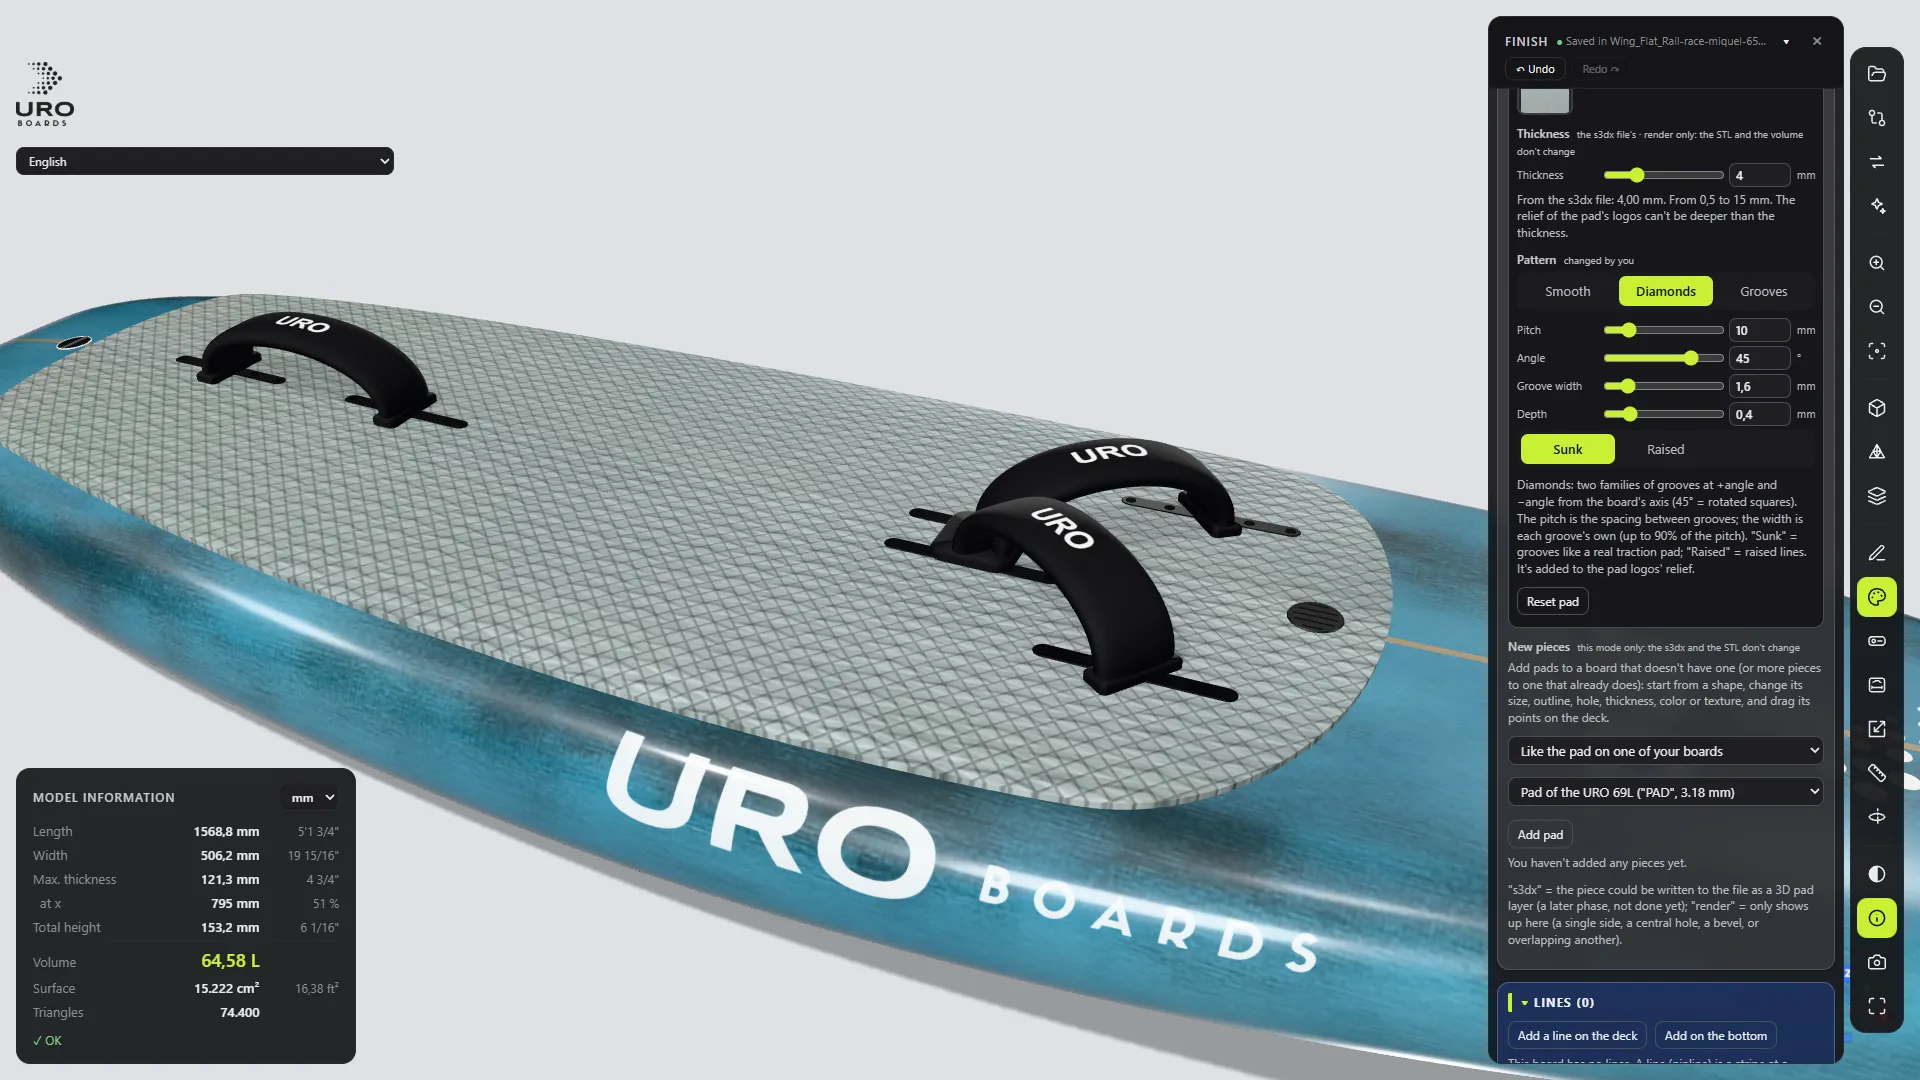
In PAD (if the board has one): colour or image, thickness from 0.5 to 15 mm and a Smooth, Diamonds or Grooves pattern, with groove pitch, angle, width and depth. You can also create new pad pieces.
Lines
LINES adds pinlines on the deck or the bottom: distance from the rail, width, colour, opacity and the stretch of board they run along.
Footstraps
FOOTSTRAPS suggests the straps by itself, based on the board’s footstrap inserts. You can add arched straps between two inserts or V straps with three anchor points, change the size of all of them or just one, the colour, the finish, and put a logo on the strap. There are 12 styles of strap.
Accessories in the render
In ACCESSORIES, tick Show the accessories in the render and the boxes, plugs, inserts and screws appear in full 3D. You choose the material (plastic, brushed metal, anodised or lacquered), colour and gloss for each type.
Scene
SCENE sets where the board sits:
- Environment: Bright studio, Dark studio, Solid colour, Beach, Water, Workshop or your own image (HDR too).
- Light Rotation, Intensity and Exposure.
- Floor: Shadow only, None or Solid colour. Background: the environment’s, solid colour or gradient.
- Views: 3/4, Deck, Bottom, Rail, Nose and Tail.
- Focal length: from 14 to 300 mm.
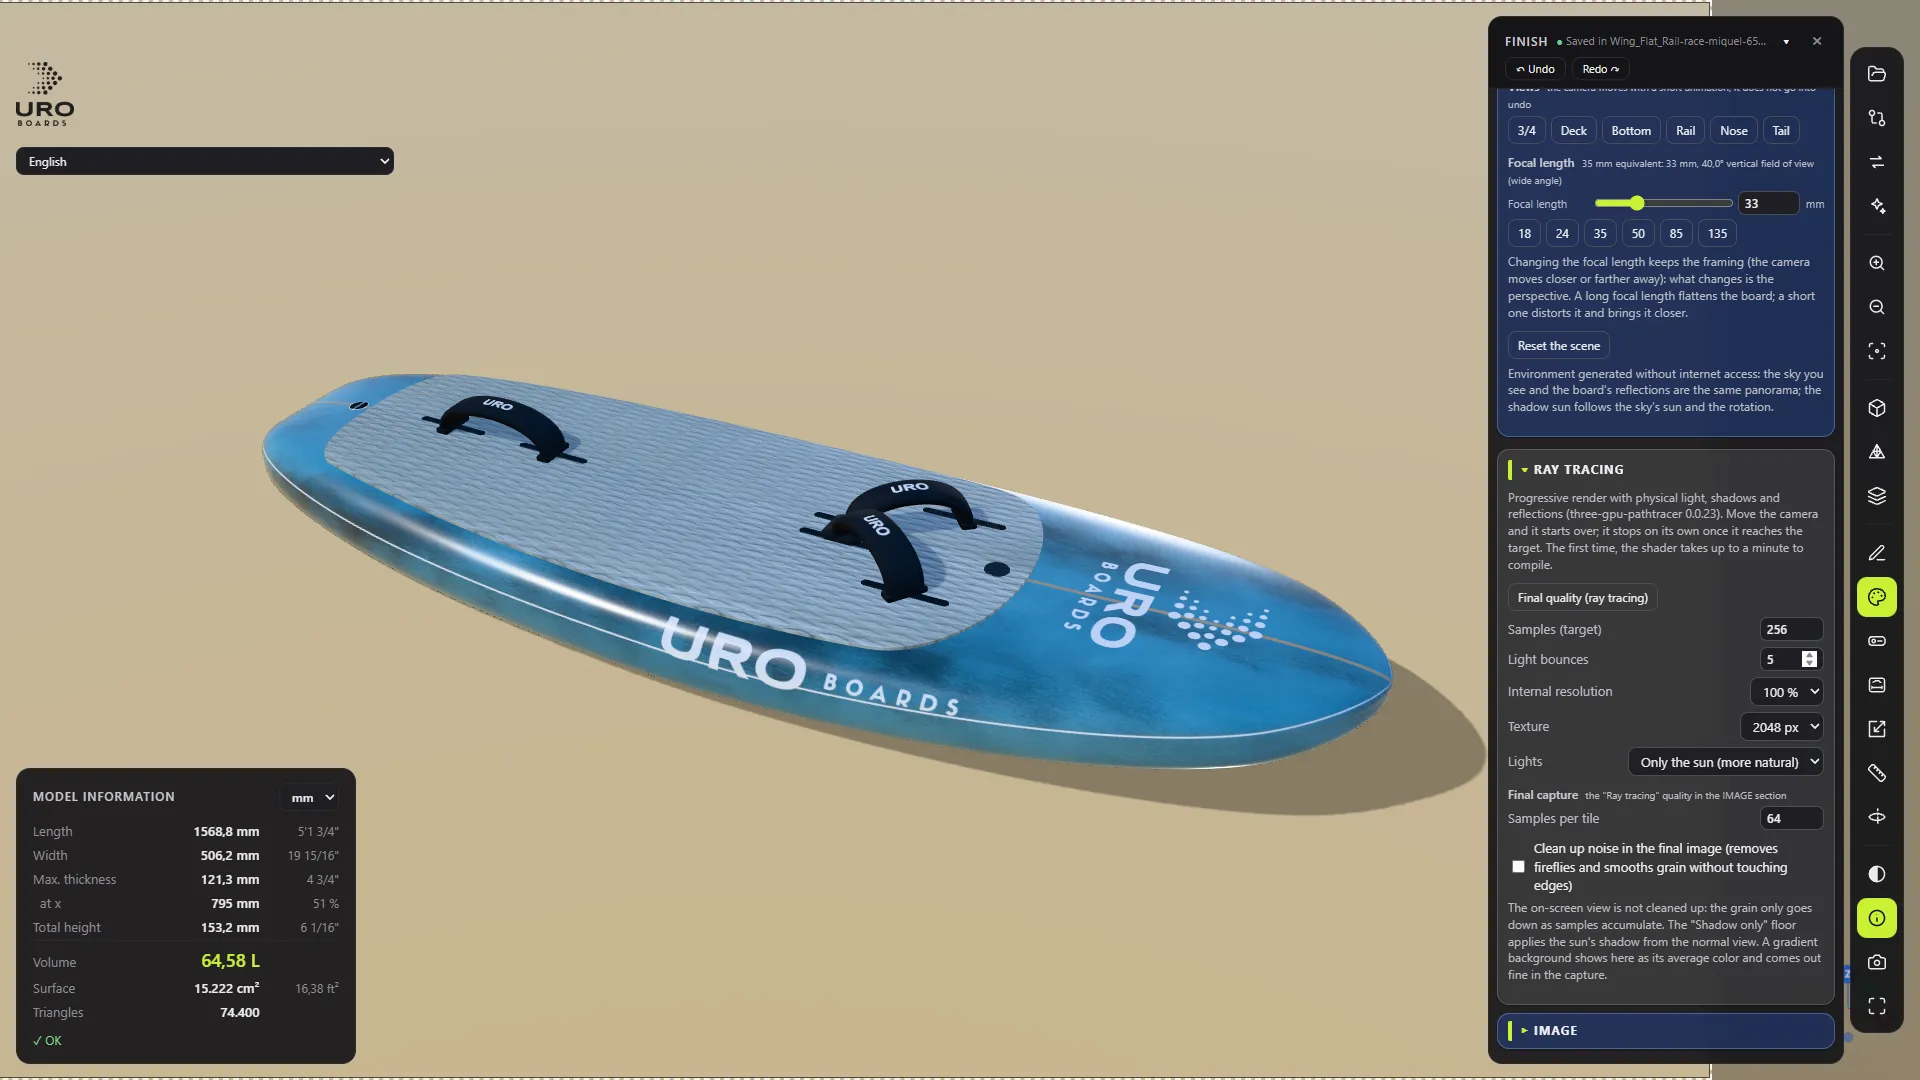
Ray tracing
Final quality (ray tracing) turns the view into a progressive render: the light bounces and the gloss coat reflects the environment. The first time, it can take up to a minute to get ready. It needs a graphics card with WebGL2.
Image
IMAGE saves the render to disk with Capture and save…:
- Size: Screen, 1920 × 1080 (HD), 3840 × 2160 (4K), 7680 × 4320 (8K) or Custom, up to 16384 px per side.
- Quality: Draft, Normal, High, Maximum or Ray tracing (final quality).
- Transparent background (PNG with real alpha) and PNG or JPG format.
The image is built in tiles, with no graphics memory limit. If you cancel, what’s already done isn’t lost.