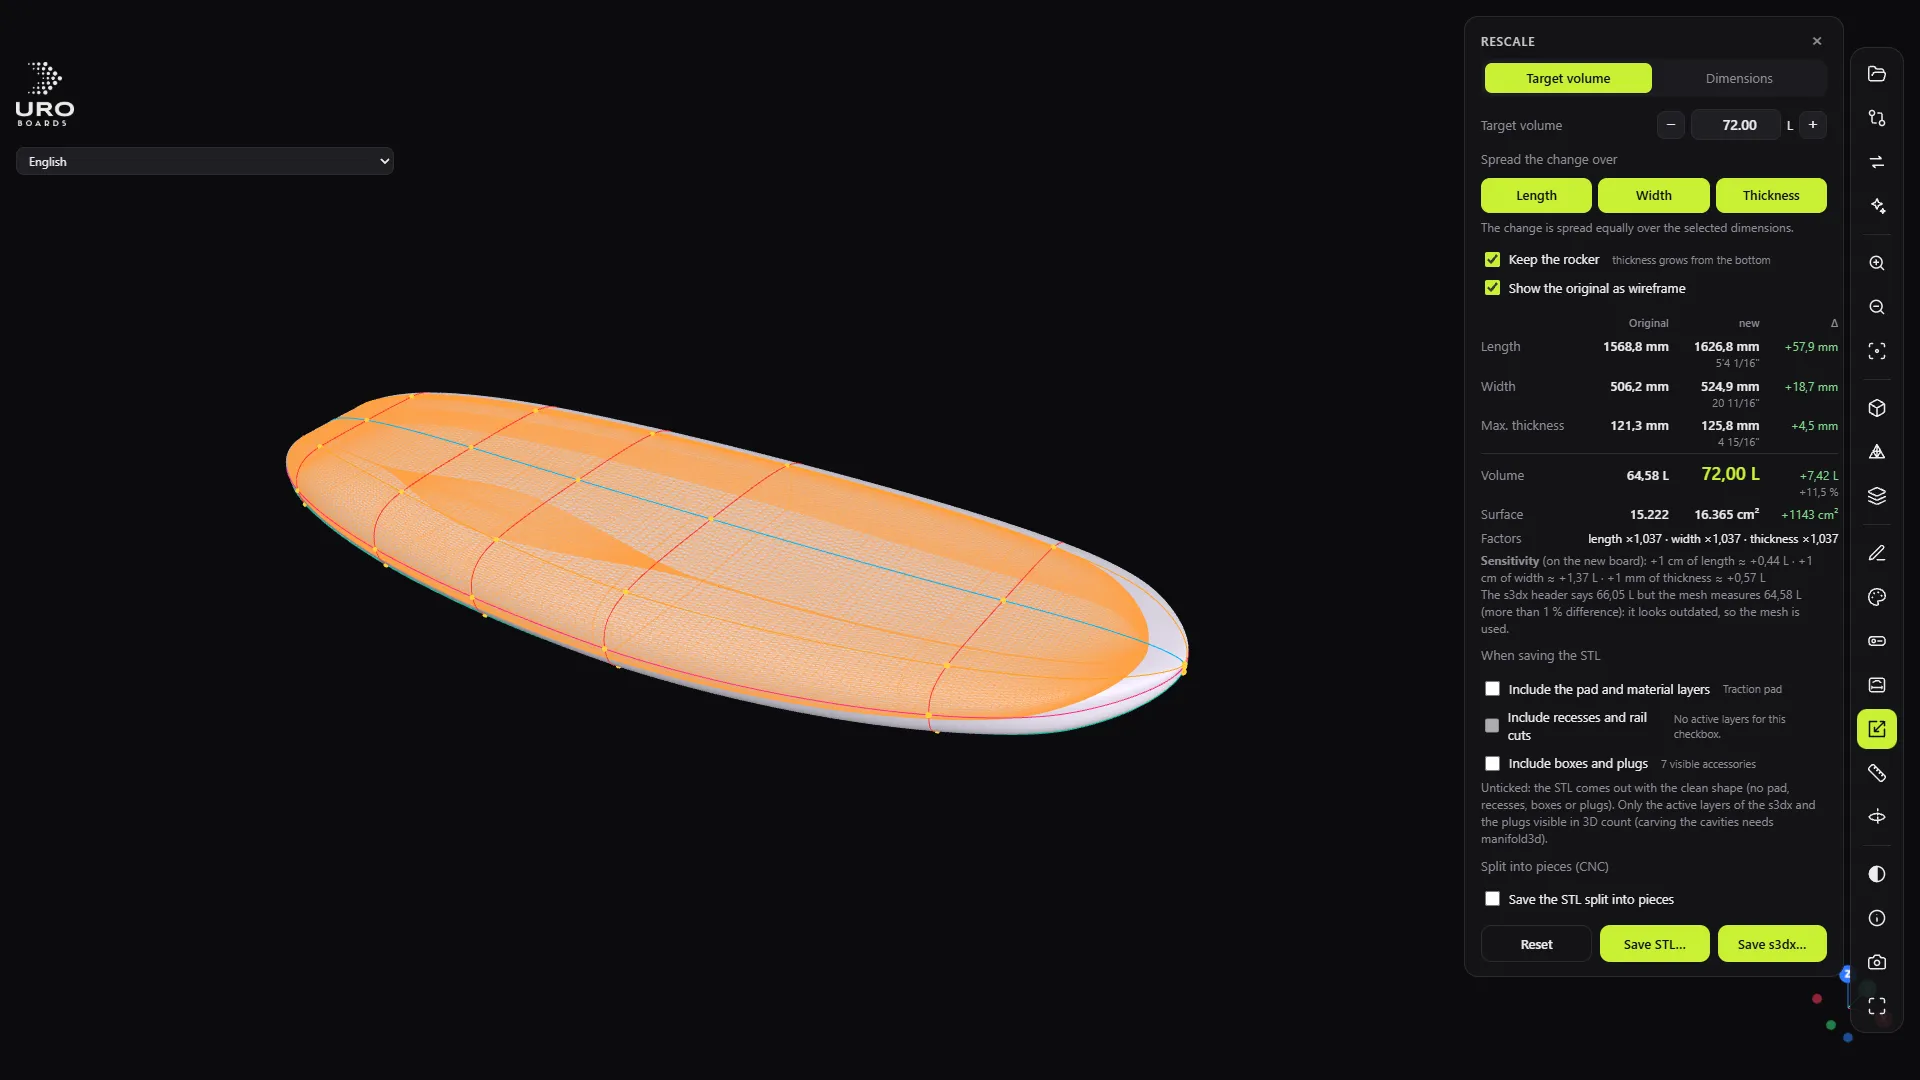
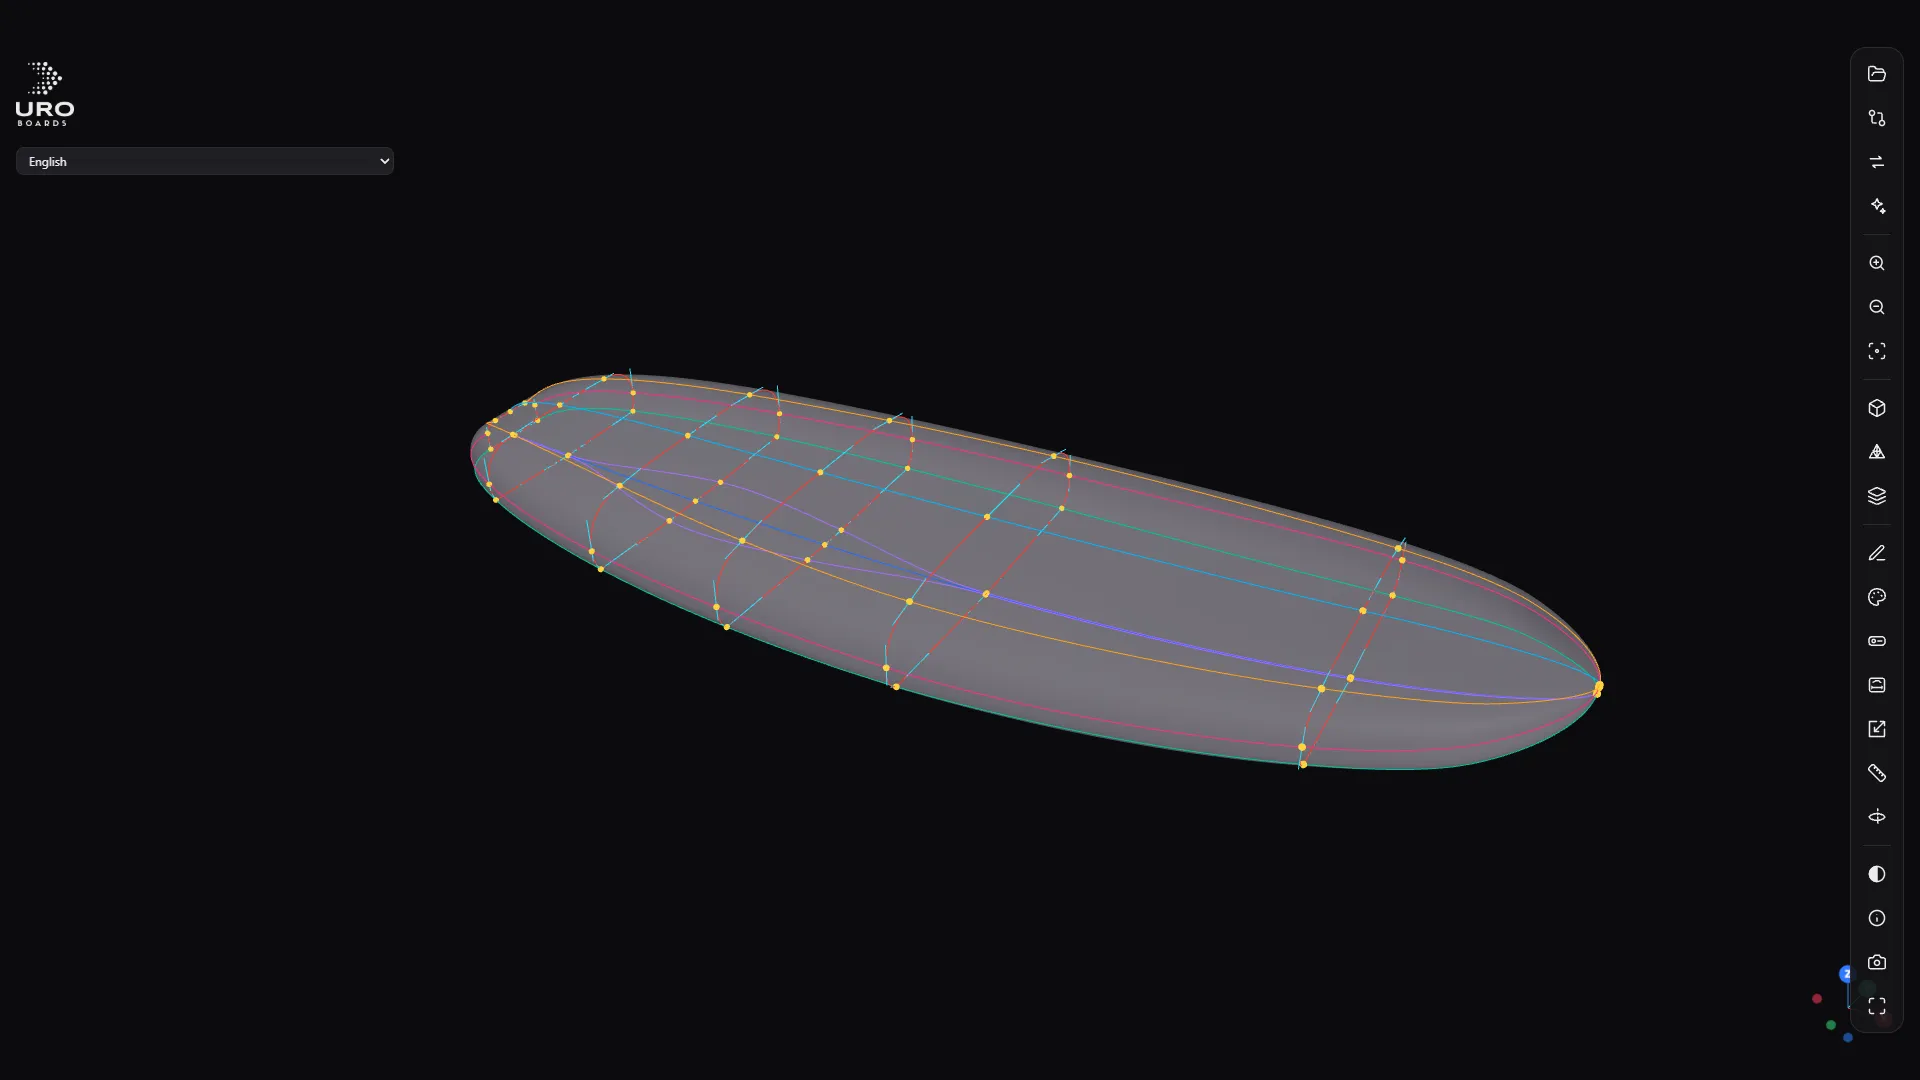
The viewer is the program’s main window. It works offline and shows the board exactly as it is in the file, with its measurements always in sight.
Getting around the board
- Mouse: left button rotates, right button pans, wheel zooms in and out.
- F: frames the board.
- 0 to 5: 3/4, plan, bottom, profile, nose and tail views. Also from the Views button.
- W: Wireframe.
- Layers: sections, points, tangent handles, guide curves and See through the mesh.
- Background: light or dark. Photo: PNG screenshot. Full screen.
Model information
The MODEL INFORMATION panel (I key) shows length, width, max. thickness and where it sits, overall height, volume in litres and surface area. You choose mm, cm or inches, and every figure comes with its equivalent in feet and inches alongside.
Measuring and cutting
- Measure (M): click the first point and click the second. You see the distance and its dX, dY and dZ components. Esc clears the dimensions. You can change the line’s colour and thickness.
- Cut (C): a slider runs along the board from tail to nose and gives you the width and thickness at that x. The arrow keys move it 1 mm at a time (with Shift, 10 at a time).
Comparing two models
The Compare button opens a second file and overlays it on the first. Two modes:
- Colour map: the deviation in mm, point by point. Blue = missing material; red = extra material.
- Overlaid: both models at once.
The COMPARISON panel gives each one’s volume, the mean deviation, the p95 and the maximum. A rotated or upside-down STL lines itself up before comparing. Handy for checking a conversion or seeing what changes between two versions.
Rescaling to another size
With the R key (or the Rescale button) you simulate another size of the same board. Two modes:
- Target volume: you type in the litres and, under Spread the change over, tick which measurements take it up (length, width, thickness).
- Dimensions: target length, width and thickness, as values or as %. With Keep proportions if you like.
With Keep the rocker ticked, the thickness grows from the bottom up and only the deck rises. Show the original as wireframe keeps the original board as a reference.
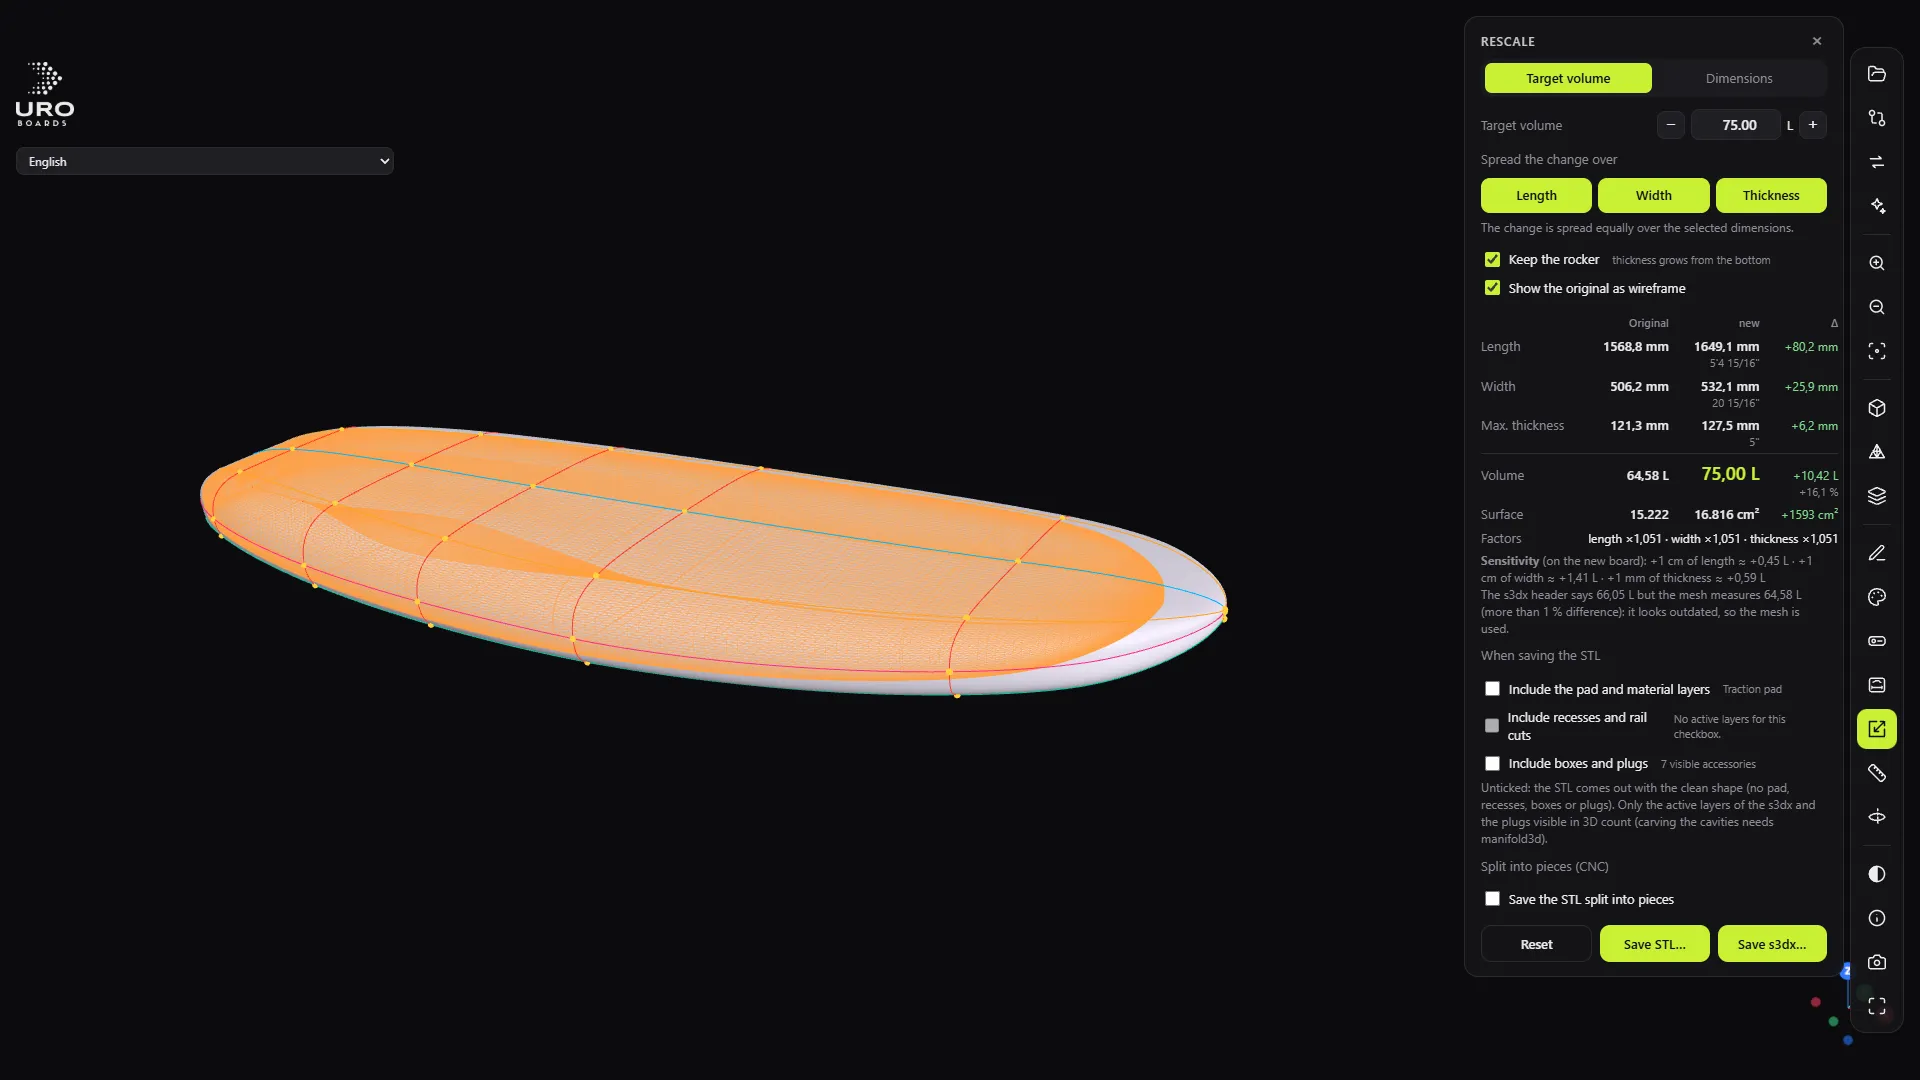
The results table shows original, new and difference, plus the Sensitivity: how many litres each centimetre of length or width and each millimetre of thickness adds.
When you save with Save s3dx…, the accessories reposition themselves: anything tied to the tail keeps its distance to the tail, anything tied to the rail keeps its distance to the rail, and the rest scales proportionally. It was checked against real sizes of the same URO board (from 65 to 75, 80, 85 and 95 L): positions within 0.01 mm.
Save STL… and the split STL for the CNC also come out of this panel (see the “Export STL for CNC” feature).